Ingredients
- ½ chicken, bone in, skin on, chopped into chunks right through the bones (see note)
- 2 Tbsp soy sauce
- 2 Tbsp fish sauce
- 2 tsp sugar
- 1 - 2 stalks lemongrass, cut into 2 -inch pieces, smashed until broken and fibrous
- 6 rounds galangal, smashed until broken
- 6 kaffir lime leaves, roughly torn
- 4 cloves garlic, smashed until broken
- Dried chilies, to taste, smashed until broken,
- 2 heads shallots, roughly chopped.
Note: You can find bone-in chopped chicken in Chinese grocery stores with a good meat department. If you cannot find it, you can also buy a whole chicken and either chop it up yourself if you have a cleaver, or ask a butcher to cut it for you. As a cheat, you could use chicken wings which have a good bone-to-meat ratio (separate the drumettes from the mid joint parts from each other if you buy whole wings).
Instructions
In a large mixing bowl, toss the chicken in the soy sauce, fish sauce and sugar. Add all the herbs and mix well; let marinade for at least 30 minutes, stirring to redistribute the marinade halfway through. Note: the lemongrass, galangal, and kaffir lime leaves are for infusion only; they are not meant to be eaten.
Prep your tools: Choose a pot that is large enough to hold the chicken with at least 3 inches of headroom. Also choose a large metal mixing bowl that can sit securely on top of the pot, or you can use a wok or a large cake pan. (Metal is important here because we need it to conduct heat quickly.)
Heat the pot over medium heat, add the marinated chicken, along with all the herbs, into the pot and place the mixing bowl on top of the pot. Fill the bowl all the way to the top with cold water (you can add ice or ice packs if you wish), lower the heat to medium low and let the chicken cook for 45 mins to 1 hour or until the largest piece of chicken is fork tender. (If using regular supermarket chicken, it should only take 45-50 minutes, but if using stewing chicken, you will need to cook it longer.)
Here's the key: While the chicken is cooking, make sure the water doesn't get hot! If you dip your finger in and it feels "warm" that is okay, but if you feel that it is "hot," scoop out the hot water and replace it with cold water. With a large bowl, you should only need to do this once every 20-25 minutes.
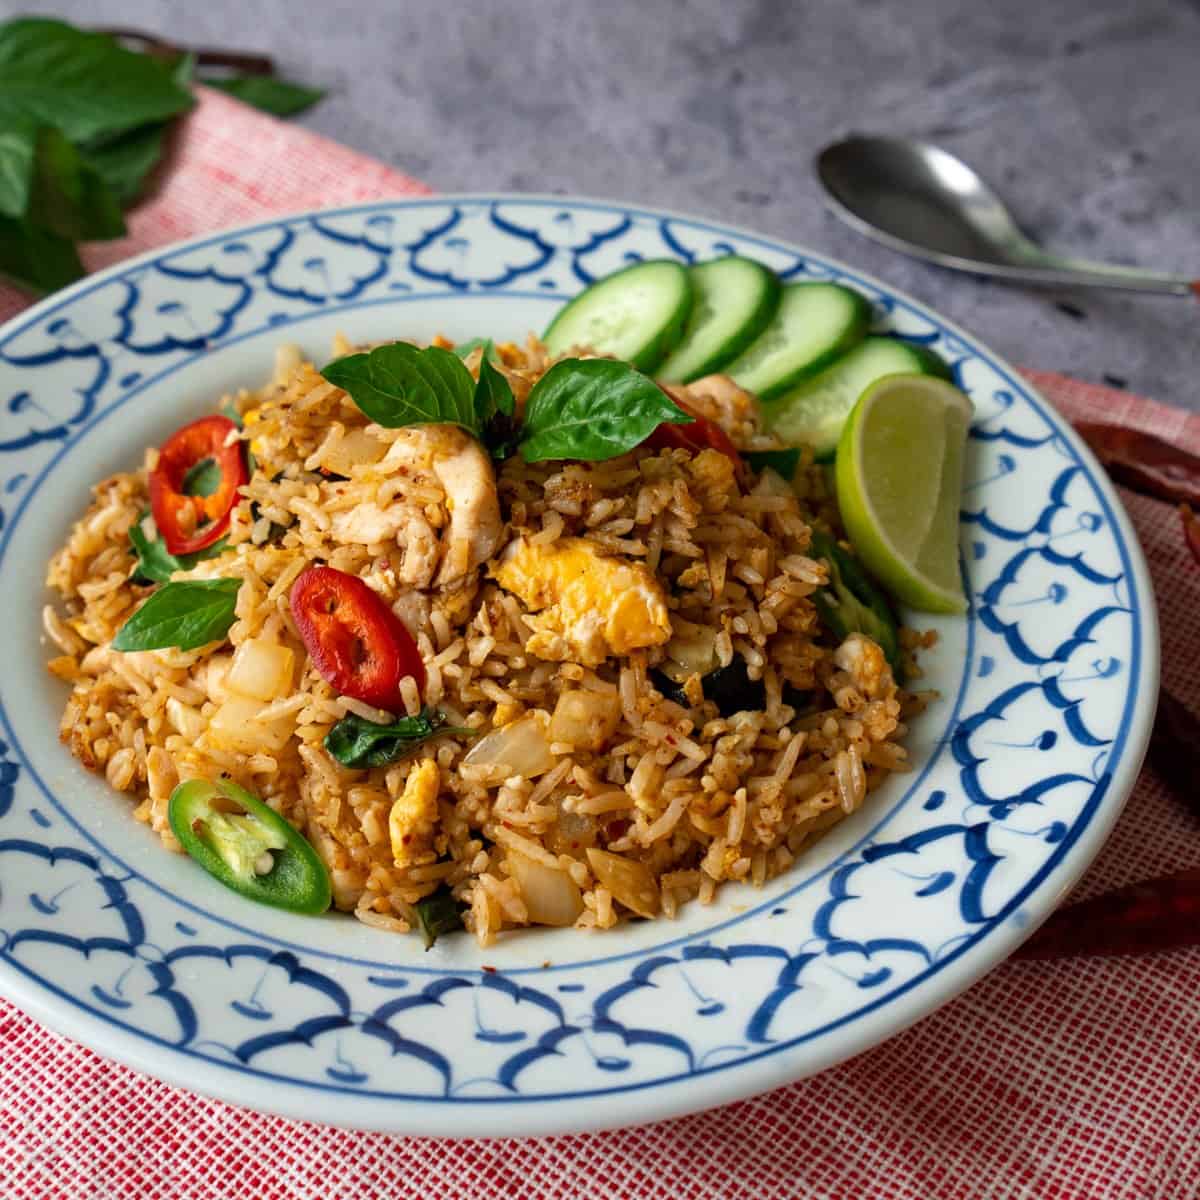
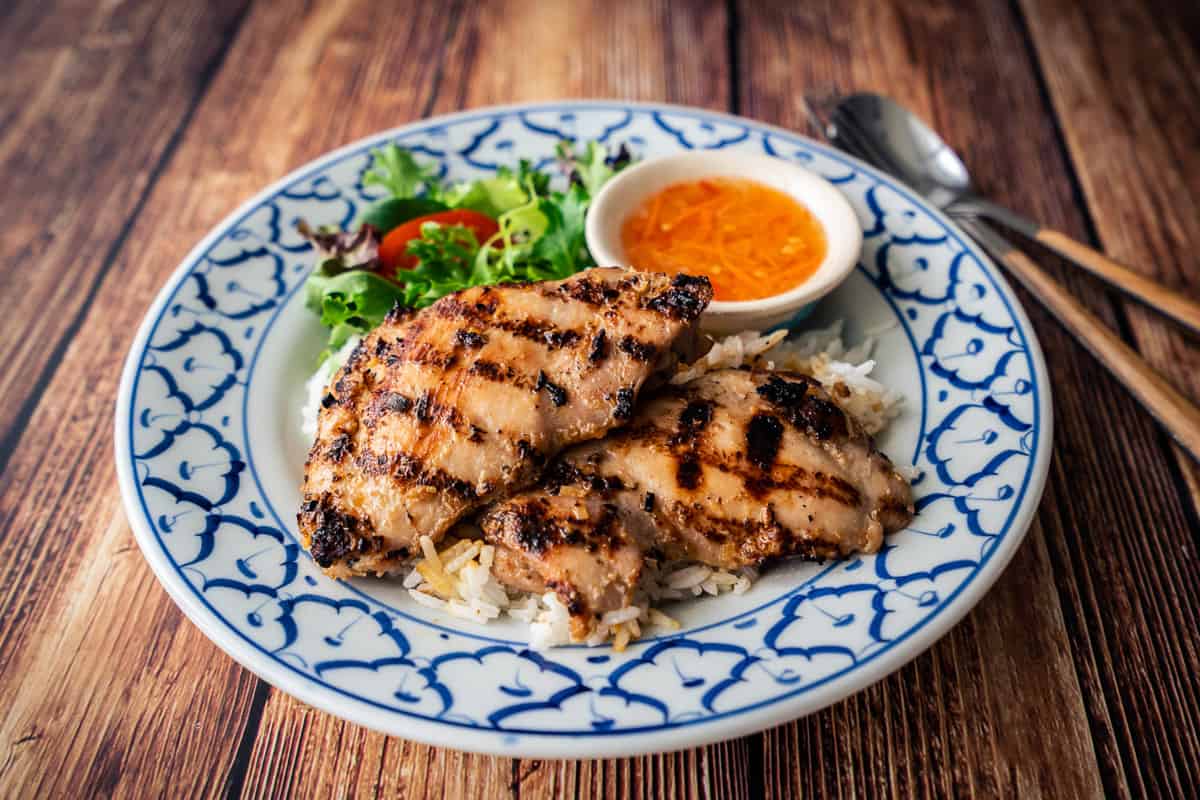
Once the chicken is fork tender, it is ready to be served with jasmine rice. Enjoy!
Note: In the video I did not lift the bowl at all while the chicken is cooking because I've done it many times and I know how long it should take for my chicken. But if it's your first time, it is okay to remove the bowl before it's done just to check tenderness of the chicken.
Safety notes:
- If you accidentally let the water boil or get very hot, do not lift the bowl or the built up steam inside the pot may come rushing out and burn you. If the water does boil, it will not ruin the dish, so don't worry! Just turn off the heat, scoop out the hot water from the bowl and add cold water back in. Then turn the heat back on and keep cooking until it's done. See explanation below for why it's important to keep the water cool.
- It's also wise not to lift the bowl of water while it's completely full; it's safer to scoop out some of the water first so you won't spill it!
UPDATE: HOW THIS METHOD WORKS
Note: I'm not going over what the method is in this section, so please watch the video or read the instructions first.
Many people are unclear about how this works (perhaps I was trying to be too brief in the video!), so I am going to try to write out the explanation as thoroughly as possible. I apologize if I go over what you might consider basic science in too much detail, but I want to make sure it's clear enough for everyone to understand. Hopefully this will help!
But first, a burning question:
Is this essentially a pressure cooker?
No. I can see why people might think this is the case, because like the underwater technique, the pressure cooker also seals most of the liquid inside the pot. However, the primary purpose of the pressure cooker is to create a high pressure environment,
which exactly the opposite
of what we're trying to do. In fact, the only purpose of keeping the water cold is to PREVENT pressure from building up inside the pot. Why are we trying to prevent pressure from building up? Safety.
A pressure cooker NEEDS a safety valve that releases steam when pressure reaches a dangerous level so that the whole thing doesn't go kaboom, and so that you don't burn your face off should you open it before it goes kaboom. Clearly, our low-budget bowl-on-pot system does not have a safety valve, so pressure building is completely out of the question, and needs to be prevented.
This method works like a condenser.
We add the chicken into a heated pot, with no added liquid other than our seasonings, and we put a bowl of cold water on top of it. As the meat cooks, the muscle fibers tense up and squeeze out the natural meat juice (this is why raw meat is mushy, and overcooked meat is dry). That juice gets heated and evaporates into steam. If we simply covered the pot with a lid, soon that steam is going to build up enough pressure and push out from under the lid, and eventually the chicken will dry out and burn on the bottom.
But instead of a lid, we now have a bowl of COLD water on top, so when the steam reaches the bowl, the relatively cold temperature forces the steam to condense into liquid, and the juice drips back down into the pot. This juice recycling is important for 2 reasons: 1) It prevents the pot from drying and thus scorching, 2) Eventually, the chicken will give off enough juice that it will be partially submerged in it, allowing the chicken to stew or braise in its own liquid. This is our ultimate goal—for the chicken to be braising in its own juices. (Definition: Braising and stewing are both cooking techniques by which meat cooks in a liquid until it becomes fork tender.)
Why do we need to keep the water cold?
Well, as I said in the video, you don't need to keep the water "cold," you just need it to be cool enough. Steam will condense only when it touches a cooler surface, so if the water gets too hot, the steam will not condense and 1 of 2 things will happen:
- If there are gaps between the bowl and the pot (and there often will be, especially for older dented bowls or slightly wonky pots), then the steam will just escape through these gaps, and then you will start losing the liquid which we need to keep the chicken stewing.
- If there are no gaps at all between the bowl and the pot, the steam will just keep building up inside, and THAT is when you create a pressure cooker! Now, we don't want this, not so much because the chicken won't cook properly, but because it is unsafe, as discussed above. Theoretically, if you let the water boil away for long enough time, eventually the bowl will become light enough that it can get pushed up by the pressure inside. I say theoretically because I don't know for a fact that the amount of steam in this recipe will be powerful enough to blow out the bowl, especially if it's a heavy bowl, but I just wanted to get across the idea that uncontrolled built up pressure inside a pot is not something you wanna mess around with!
Is this similar to a slow cooker? Yes!
That is probably the closest thing I can compare this method to. A slow cooker cooks food in a lidded pot at a low and controlled temperature. The low heat never produces enough steam pressure for any significant amount of steam to escape, and the glass lid always stays cool enough to condense any steam that reaches it, so essentially all liquids are retained within the slow cooker. So this is our low-tech slow cooker before electric slow cookers became a thing!
The only difference is that with a slow cooker, there is a built in thermostat that keeps the temperature steady, so you can leave it unattended for hours on end. In our low-tech version, the bowl of water is the thermostat that tells you when you need to cool it down. This comes in really handy in rural Thailand where much of the cooking happens on charcoal or wood fire, making temperature control at the heat source rather difficult.
A few related questions:
Does the water weigh down the bowl so it seals the pot and prevent steam from escaping? No. The weight of the bowl is irrelevant, the only thing that matters is the temperature of the bowl. So even if we had magic water that was as light as a feather, but has the same thermal properties as regular water, it would still work. The cooler temperature is like a security guard that keeps the steam from escaping when it reaches the top.
What's this PV = nRT thing you talked about at the end of the video? I'm glad many of you got a chance to reminisce your high school years when I mentioned this :). But for those who have repressed it out of your memory, here's a quick review. As many viewers pointed out, this is the "ideal gas law," and it helps explain why we need to keep the water in the bowl cold. P is pressure, T is temperature, and for our purposes, V, n, and R are constants we don't need to worry about. As you can see, if we raise T inside the pot (by not changing the water when needed), P will also increase, and that's not safe.
How does this differ from normal braising or stewing? Normally, when we stew or braise, we need to add a liquid to the pot such as water, stock, coconut milk, etc. This can be a way to add flavour, of course, but it's also because a lot of liquid will evaporate away during the long cooking process. This method retains all the natural juices inside the pot, allowing us to forego the need for any added liquid. And because we're using bone-in chicken, this also means that the resulting sauce is highly concentrated chicken stock, giving the sauce an incredible body. If you put this dish in the fridge, you'll see how concentrated the stock is by how firmly it gels.
Does this technique work for other meats or fish? Theoretically, yes, it should work with any protein that has enough natural juices to create a sauce. I say theoretically because I've never tried it with other meats personally. Remember also that one of the important factors is that the meat is BONE-IN, otherwise the sauce will not be rich and flavourful. So whatever meat you want to use, make sure it is bone-in. So pork spare ribs tips (cut Asian style), beef short ribs, and whole fish might work (but you'll need to cut it somehow so it will fit into a pot). Regular stewing time applies: pork you'll need 1-2 hours, beef you need 2-3 hours, and fish will only take 10-15 minutes—all timing depends on the size and the cut. Let me know how it goes when you try them!
Well, I hope that helps! If you have further questions or anything to add to this explanation, please don't hesitate to get in touch!