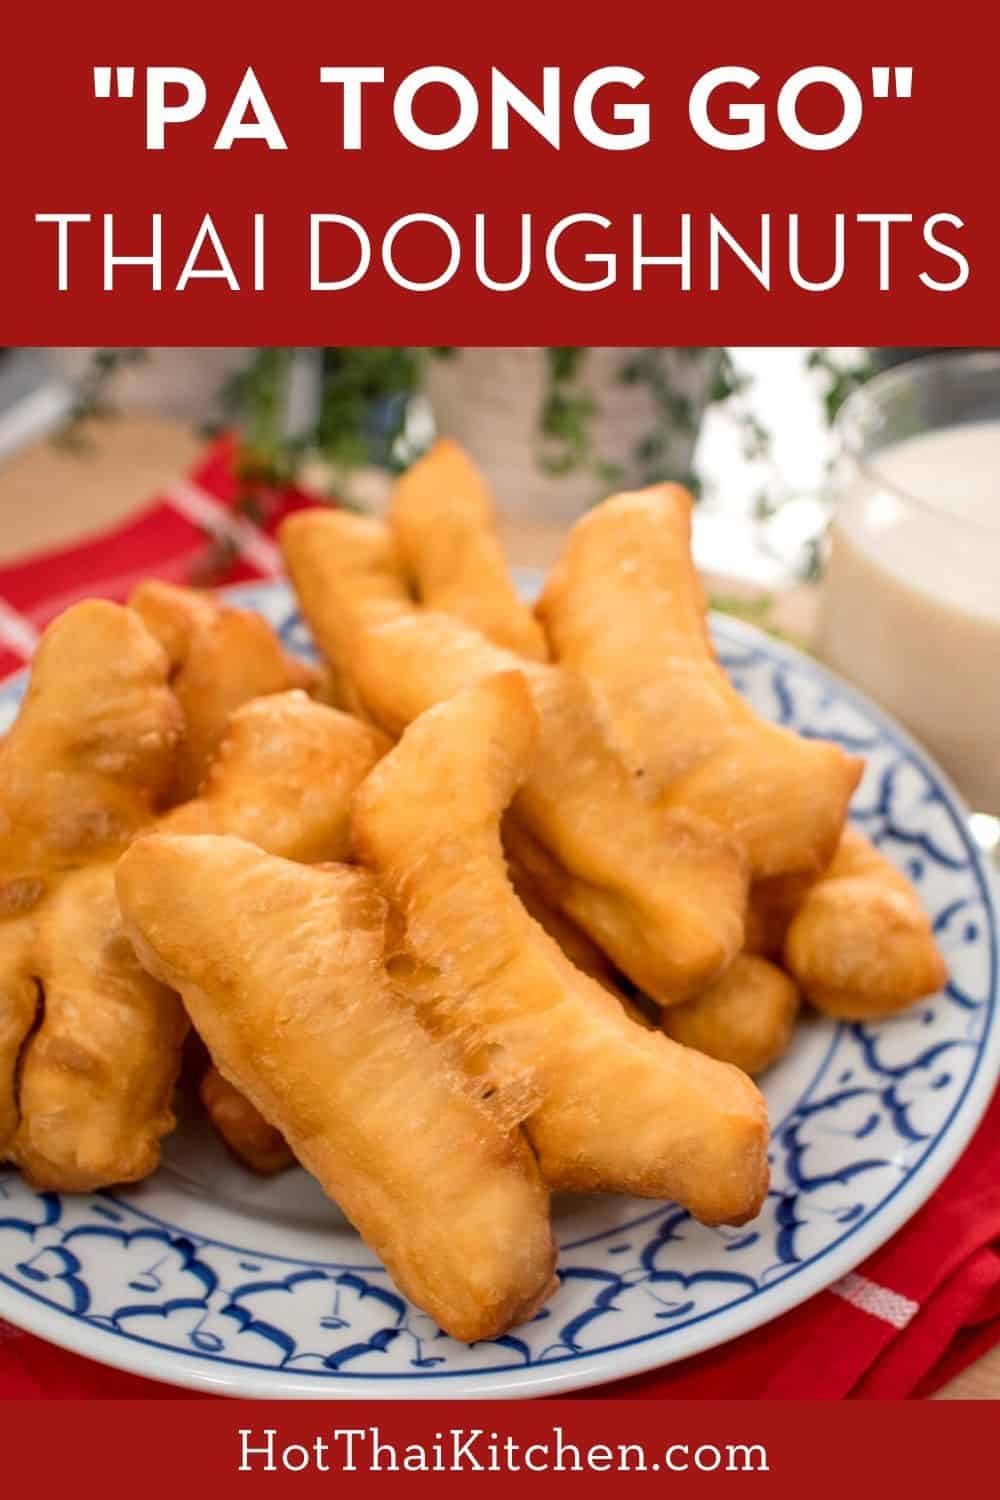
When I think about the perfect Thai morning it involves a coffee, a glass of hot fresh soy milk, and a plate of these crispy, airy pa tong go.
Pa tong go
is the Thai version of Chinese doughnuts or "you tiau" or "yao tiew". Personally, I like the Thai version better, but yes, I'm biased! Most commonly you can find pa tong go
sold by street carts in the morning. Sometimes the vendor also sells fresh soy milk, the perfect accompaniment, and if not, there's usually a soy milk cart nearby.
My favourite way to eat them is to simply dip them in sweetened condensed milk, but I also love dipping them in sangkaya
, a pandan coconut custard. If you don't like things sweet in the morning, you can have them with a hot glass of fresh soy milk.
Key Ingredient: Baking Ammonia
The most important ingredient in this recipe is the leavening agent you may not have heard of before: baking ammonia
or baker's ammonia. Technically this is ammonium bicarbonate (even though on the label it says "carbonate"), and it works in a similar way as baking soda and baking powder, but is superior in a couple of ways.
Why I Chose Baking Ammonia
Look, I am just as annoyed as you are when I see a recipe calling for weird ingredients. And I REALLY do not like it when it's my own recipes. But this means that when I do, you know there's a good reason for it. In this recipe, the difference baking ammonia makes is absolutely worth the effort of looking for it. I got mine from a local cookware store
that sells a lot of specialty baking ingredients, but it's also available online on Amazon (linked through my Kit here).
Here are reasons why baking ammonia is superior in this recipe:
It does not leave any aftertaste whatsoever.
This is the most important reason. Baking powder and baking soda actually have a flavour, and it's not pleasant. But when you make cakes or cookies, there are a lot of other flavours going on, and the amount of leavening used is quite small, so we don't really notice it. Pa tong go
dough, however, is so simple and plain, and it needs quite a lot of leavening agent to get the puffiness we need, so if you used baking powder or baking soda, you will actually be able to taste the alkaline flavour that they leave behind. Baking ammonia may start out with a really strong odour, but once it's all cooked off, it leaves no smell or taste, leaving you with just the clean flavour of the delicious fried dough.
It yields a crispier product.
Baking ammonia is more commonly used than you may think. If you look at the ingredient list of store-bought crackers, you'll likely see it listed. This is because baking ammonia produces a crispness in the product that baking powder or soda can't. I don't actually know the mechanism behind this, so if you know do share!
It does not react until you cook it.
Unlike baking powder/soda which start working as soon as you mix it with liquid, baking ammonia is activated by heat so ALL of it's leavening power will be released during cooking, and none is lost while the dough is being mixed or resting. This means that you can make the dough in advance and let it sit until you need it. This is how pa tong go
vendors in Thailand can just make the dough once and sell it over the course of the day with no issues.
It's the traditional way pa tong go is made in Thailand.
For those of you who are looking to recreate the wonderful pa tong go
experience you had in Thailand, well this is what they use!
*NOTE: Baking ammonia has a VERY strong odour, so DO NOT SMELL IT DIRECTLY, and when mixing the dough try not to put your nose right on top of it. All the smell will go away once the dough is properly cooked through. If you can smell ammonia in the finished product it means the dough is undercooked.
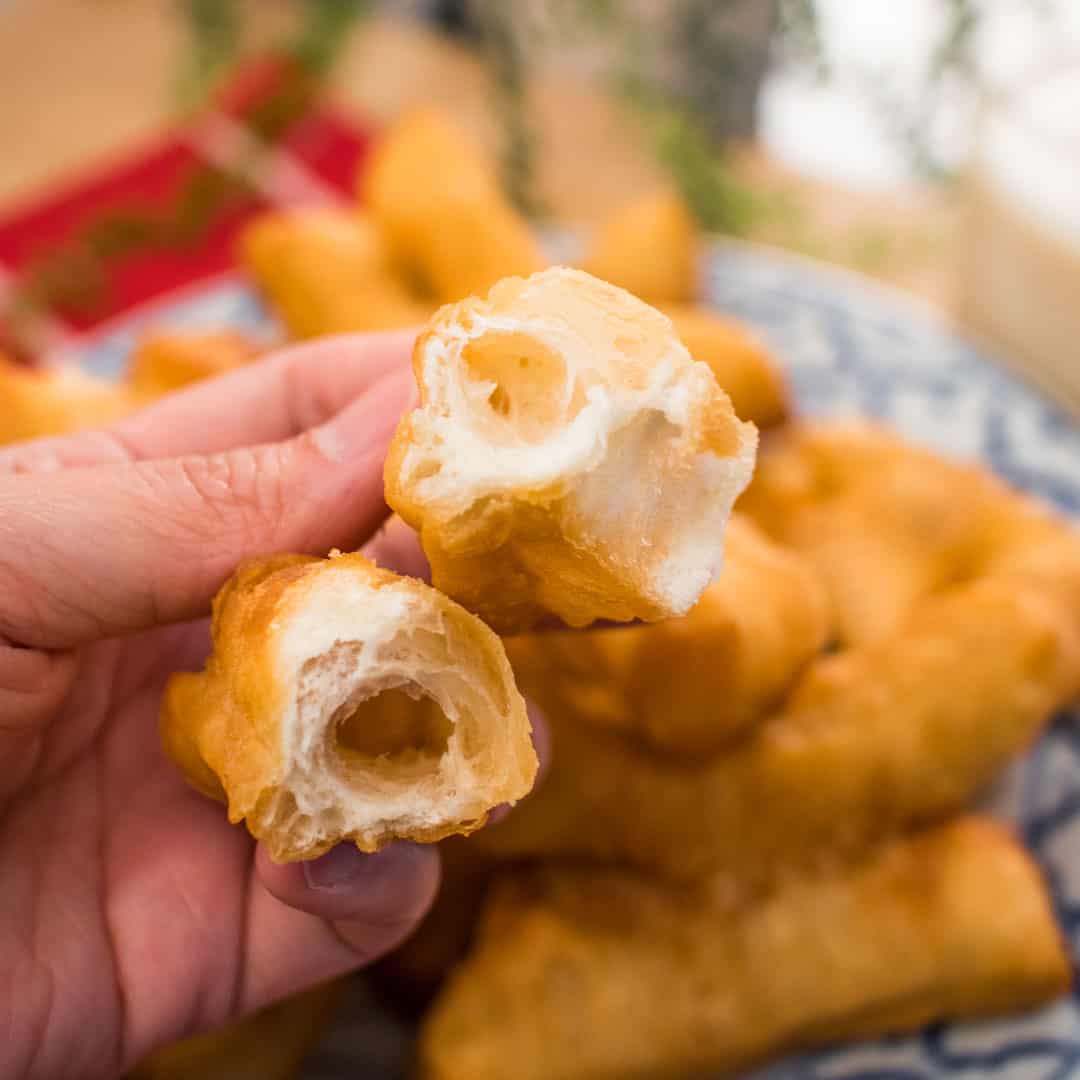
Crispy outside, with a tender but hollow and airy inside are the key characteristics of the perfect pa tong go.
Prepping Dough in Advance
The dough needs to rest for 2.5-3 hours before you can fry it (although 2 hours is probably okay too, but I've never tried), but it also can rest there for up to 8 hours until you're ready to fry it. If you want to prepare it in advance longer than that, put the dough in the fridge, but be sure to pull it out 2 hours before using so the dough has time to warm up to room temperature, and it's harder to work with a cold dough.
Reheating Pa Tong Go
I really, REALLY think you should eat pa tong go as fresh as possible. Once it's cool enough to eat but still a bit warm is perfect. It's one of those things that just isn't nearly as good once it's been sitting out for a few hours. So I do not recommend making more than you can eat in one sitting.
But if you REALLY have to reheat them, there is a way to do it that will give a decent result. Not the same, but decent. If you have a toaster oven, stick them in there using the toast function for a few minutes only, once you start to see the oil on the surface start to sizzle it's ready to go. For a regular oven, I use the broiler on low setting and broil each side for just 1-2 minutes or until the oil starts sizzling on the surface. Do not toast them too long or they will dry out and become too crispy.
Watch The Full Video Tutorial!
All my recipes come with step-by-step video tutorials with extra tips not mentioned in the blog post, so make sure you watch the video below to ensure success - and if you enjoy the show, please consider subscribing to my YouTube channel. Thank you!
Sift flour and cornstarch together into a mixing bowl.
Put water into a small bowl then add salt and sugar and stir until completely dissolved.
Add baking ammonia and stir until dissolved (don't put your nose directly over the water so you don't get an accidental whiff of ammonia!)
Stir the oil into the water and pour everything into the flour.
Mix with your hand just until combined and no dry flour is left, it should only take 1-2 minutes. DON'T KNEAD. The dough should be shaggy and sticky, and does not look right (but it is!). Cover and rest for 2.5-3 hours.
When ready to fry, preheat at least 1.5 inches of frying oil in a wide pot or wok to 375F. Ideally, keep a deep-fry thermometer
in the oil while you fry. If you don’t have a thermometer that can stay in the pot, check your oil temp often while you fry.
While the oil is heating, prepare a large cutting board near the oil; this is your dough-shaping station.
Dust the board thoroughly with flour, then turn the dough onto the board. Dust the top of the dough with more flour, then use your hands to pat the dough down into a ¼ inch thick rectangle, 7-8 inches wide, keeping the sides as straight as possible to minimize waste. Do not knead the dough and try to work it as little as possible.
Cut the rectangle into 3 strips (each should be about 2 ¼ - 3 inches wide). Work with 1 strip at a time and keep the other 2 covered in a barely-moist kitchen towel or plastic wrap so they don't dry out.
Trim the ends of the strip to square them off, then cut the strip into 1-inch wide pieces.
Dip a wooden skewer or a thin chopstick into a little cup of water and paint a 1-inch vertical strip of water into the center of every OTHER piece; this will be the glue. Put the dry piece on top of the wet piece and press gently in the center to stick them together. Once you're done forming, if the oil still has a bit of time to go, cover the pieces to prevent drying.
Right before you drop the pa tong go into the oil, stretch the piece out with your hands until it is about double in length and drop it into the oil. TIP: To help your oil last longer, brush off excess flour from the dough with a pastry brush before dropping them into the oil.
Fry in oil for AT LEAST 5 minutes, flipping often, until well browned on both sides and bubbling has subsided. Keep an eye on oil temp and try to maintain it around 375F and don’t let it drop lower than 360F. If the oil accidentally drops below 360, add a little bit more frying time to make sure all the ammonia is cooked off.
Place the finished pa tong go onto some paper towels to absorb the excess oil. Tip: Once the first piece is cool enough to handle, break it off and smell the inside to check if all the ammonia smell is gone. If not, you need to fry the next batch longer.
Serve as soon as they're cool enough to handle. Enjoy!
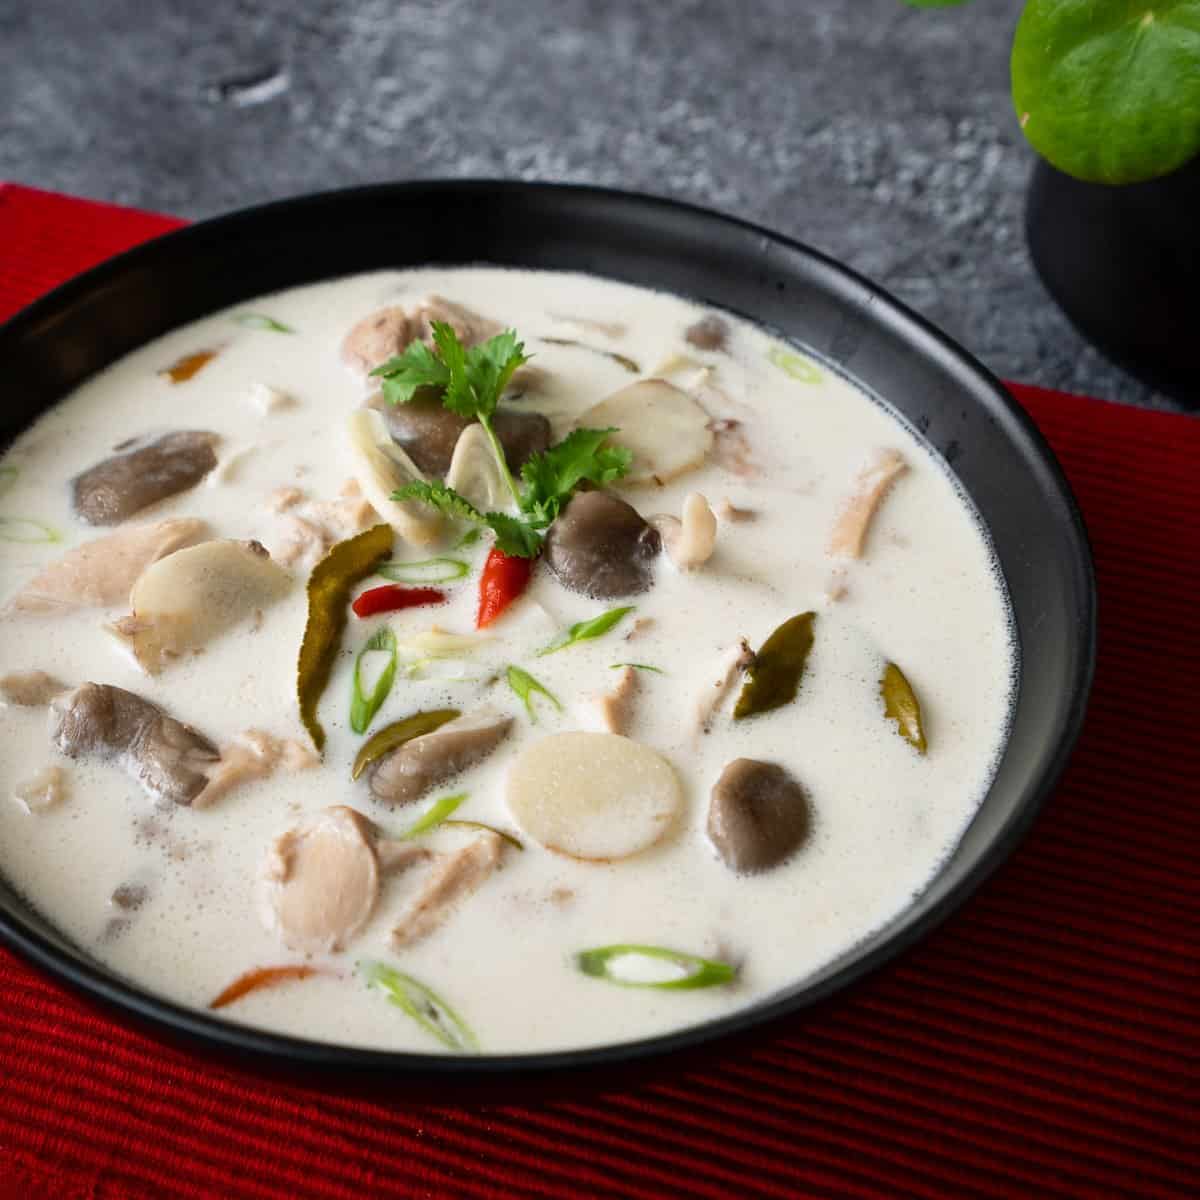
Tom yum goong maybe the most famous soup of Thailand, but its milder creamier sister, tom kha gai , is my personal favourite. This comforting Thai coconut chicken soup recipe is infused with the classic Thai herbs: lemongrass, galangal, and makrut (kaffir) lime leaves. It's so easy yet so loveable that when someone asks, "I'm new to Thai food, what should I try/make first?" Tom kha gai is my answer.
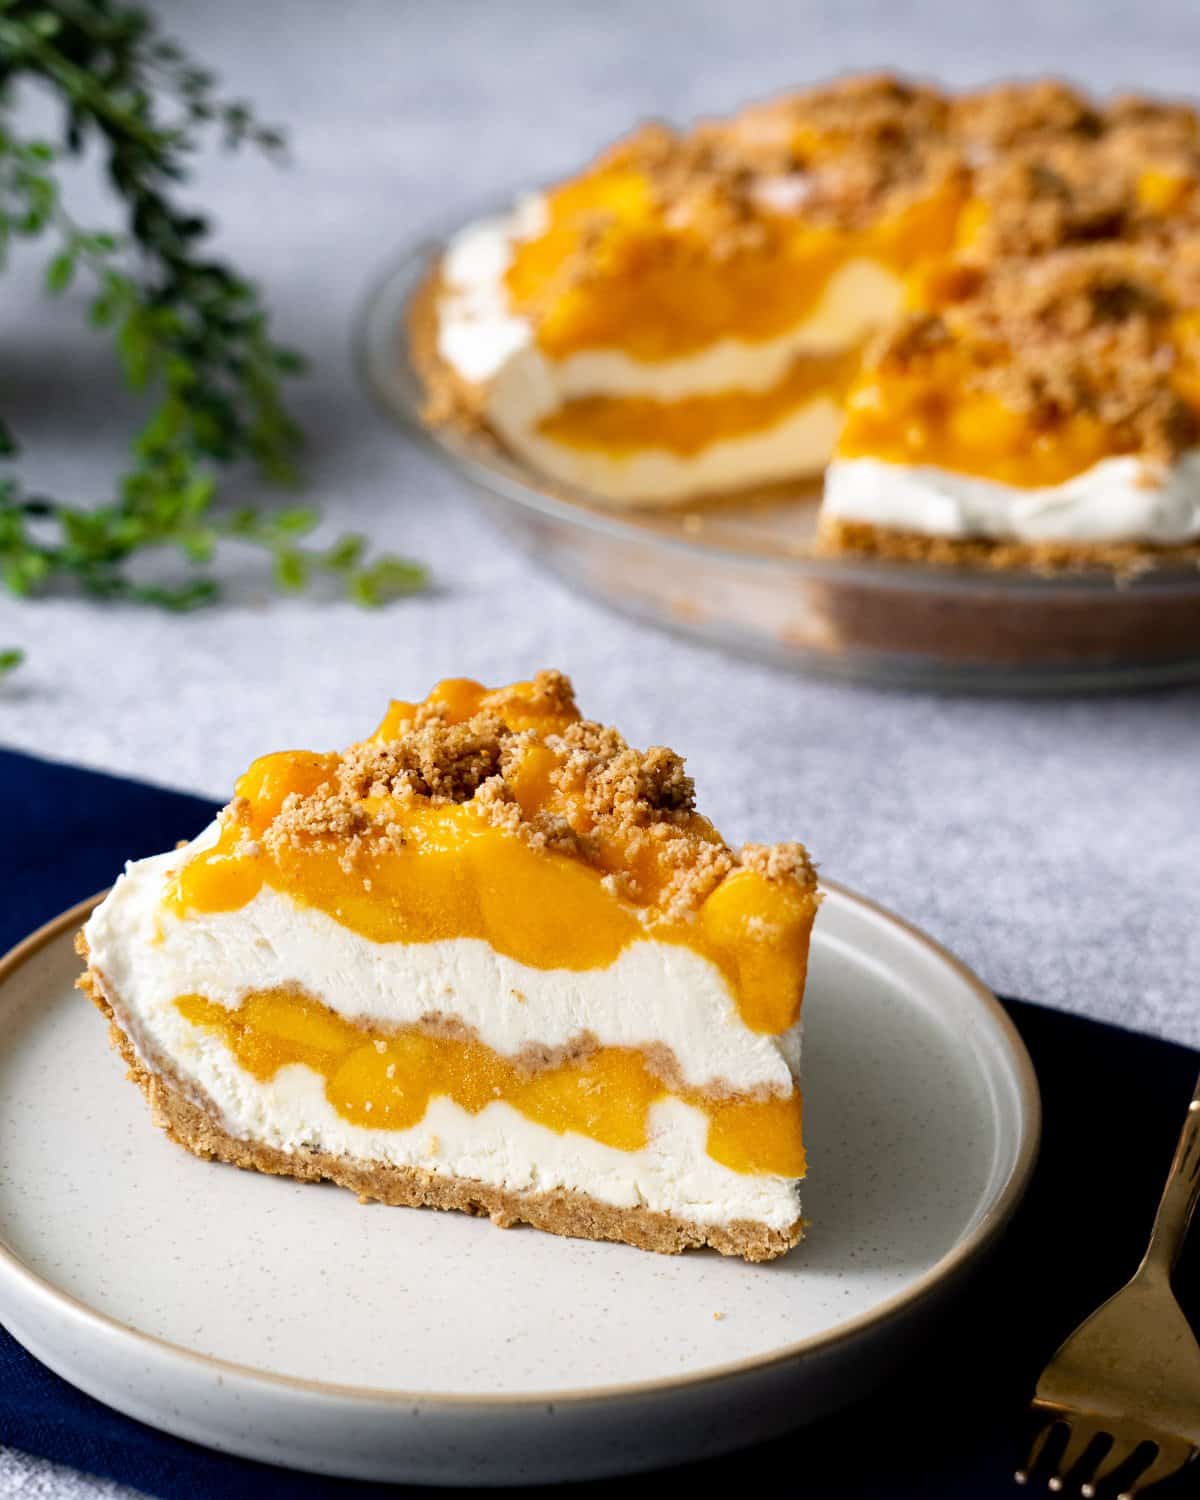
If you love mangoes, and you love mango desserts, Mango Royale, aka Mango Float, is an absolute must-try; right after mango and sticky rice , of course! It's a frozen Filipino dessert that takes advantage of peak-of-the-season mangoes, and uses only 5 ingredients. There's no baking involved, and it's so easy it's essentially fool-proof!
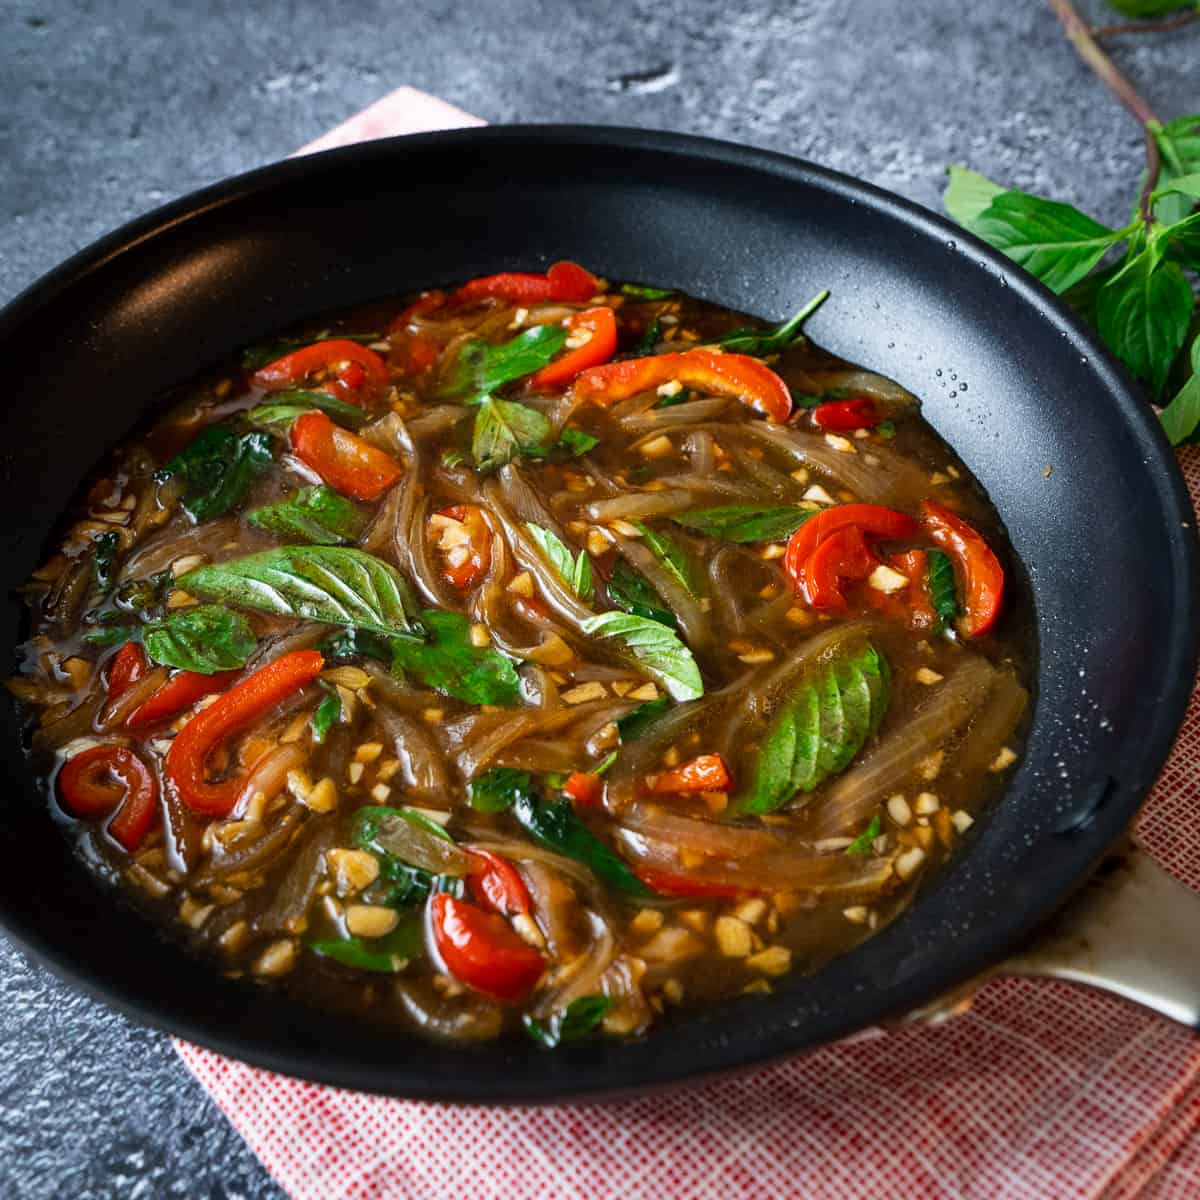
I LOVE all kinds of basil, but I don't love how quickly it goes bad and that it doesn't freeze well. So I came up with this recipe as a way to use up any amount of basil you have on hand . It's an easy and versatile sauce that only uses pantry staples, and can be stored in the fridge for at least a week. Reheat it and pour onto any cooked protein, or use it as a stir fry sauce - or heck, you can even use it as gravy for your mashed potatoes. It can also be made vegan. The possibilities are endless!
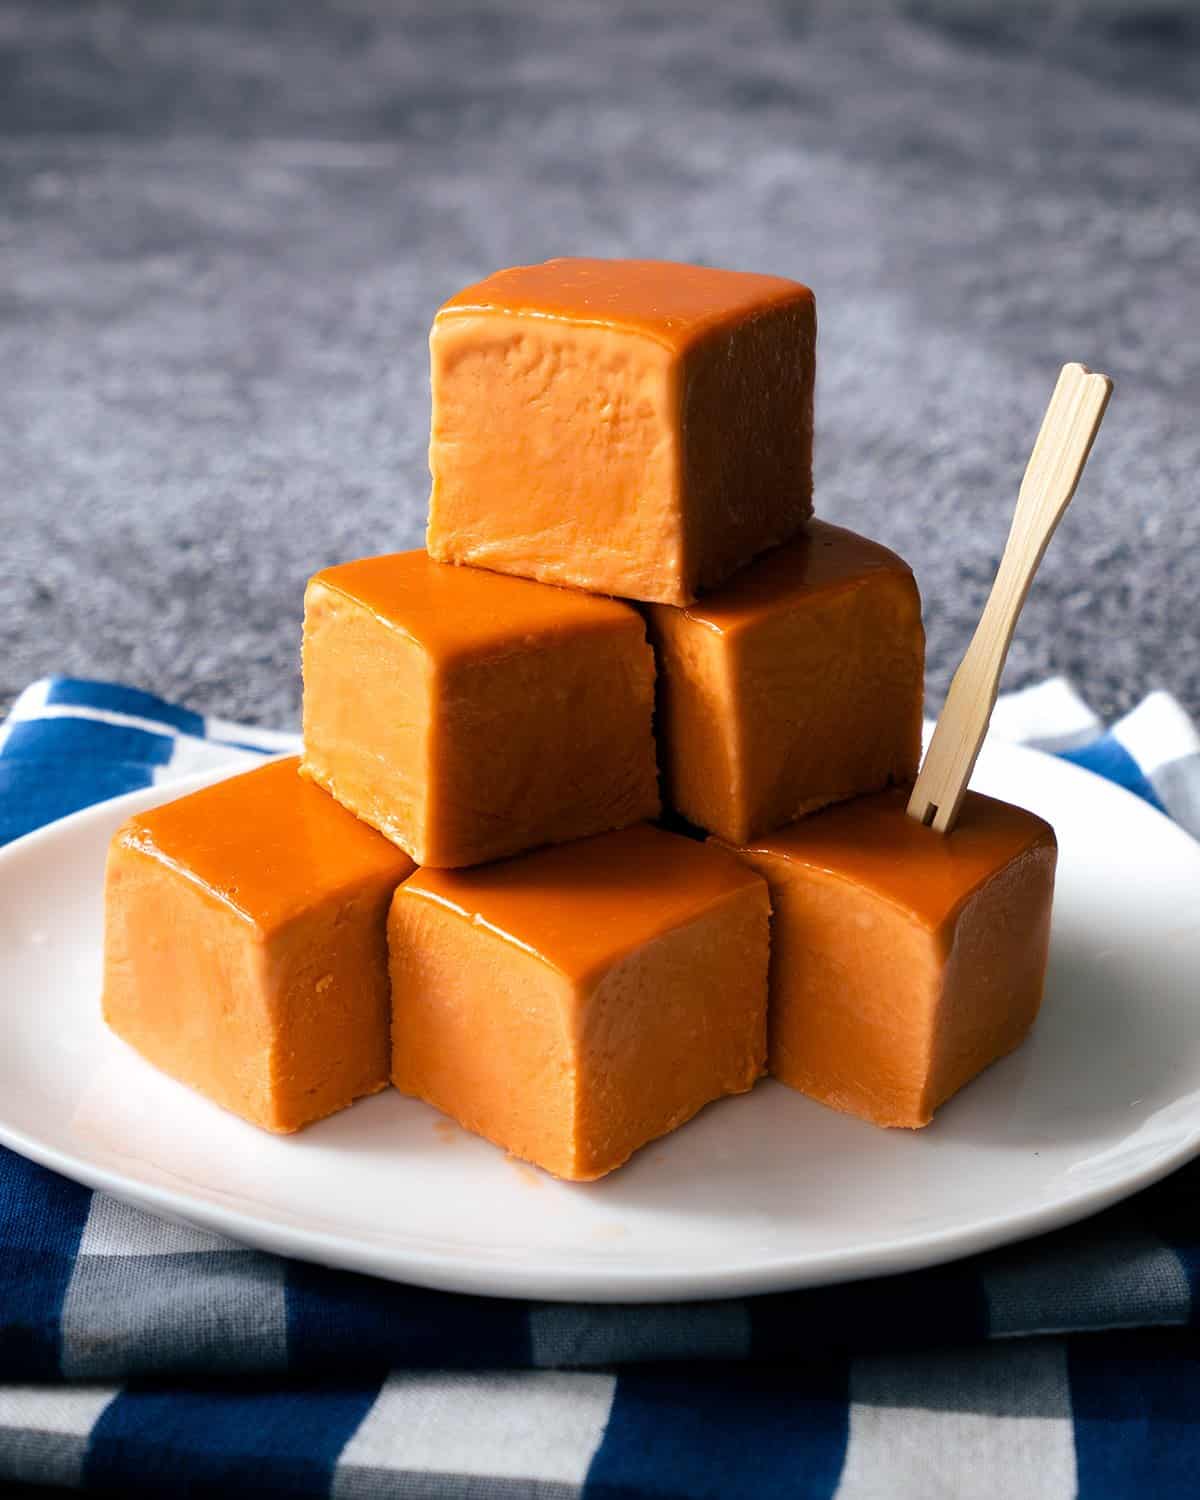
Imagine this: soft and creamy ice cream bars that you didn't need to whip or churn. All you have to do is cook the ice cream base, pour it into a mold, then cut it into pieces. And it's so soft your teeth will glide right through it as you take a bite, and it's wonderfully chewy. Yes, chewy.
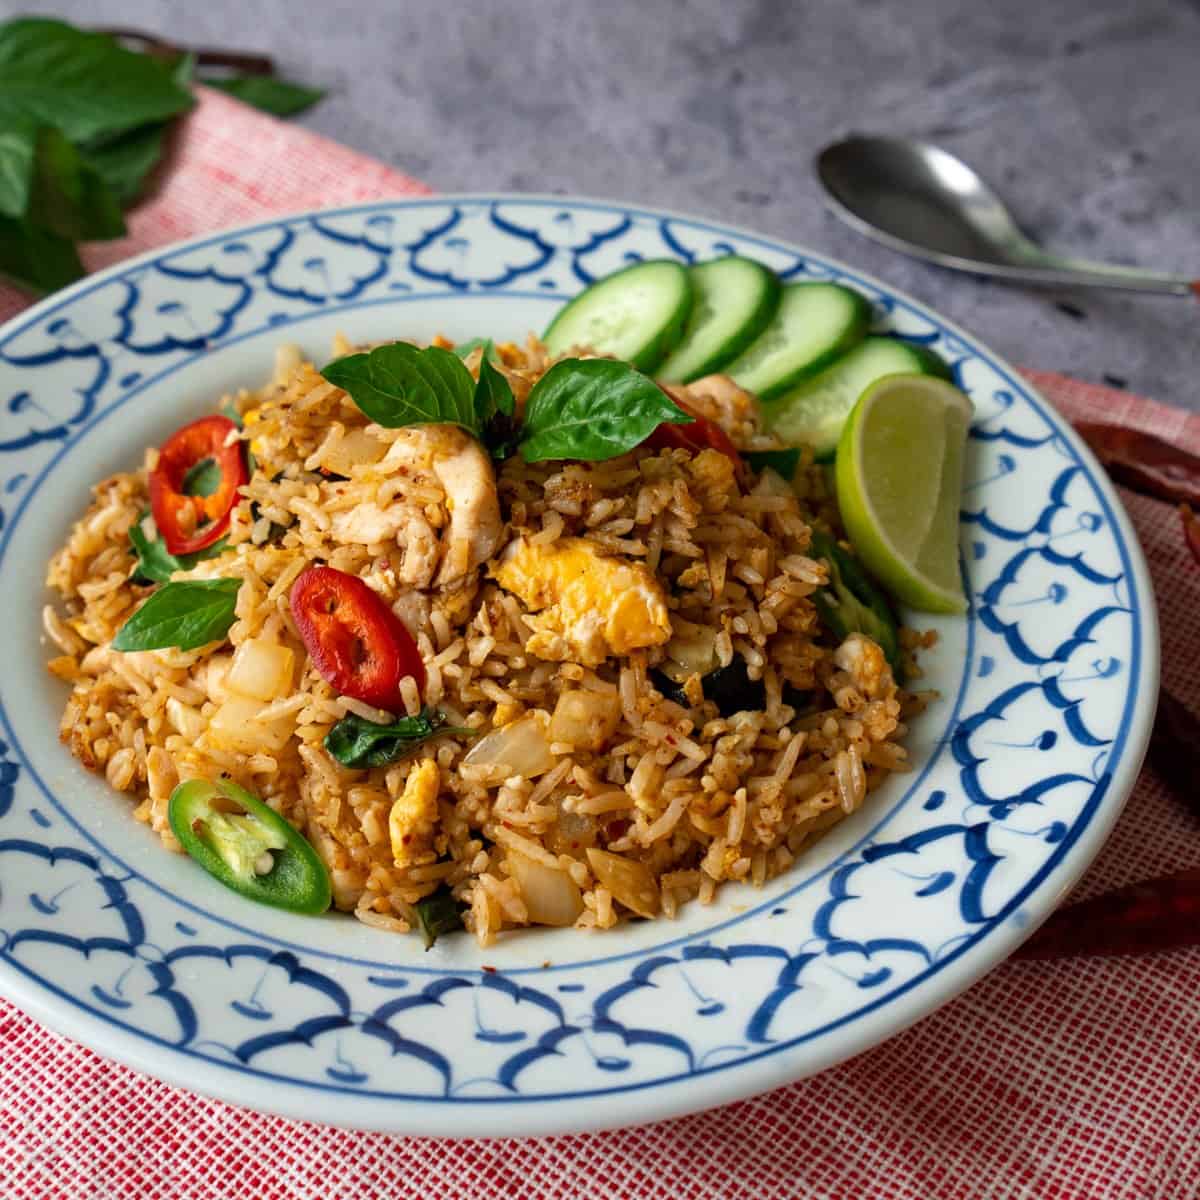
I wanted a fried rice recipe that really celebrates the flavours of chilies - not just their heat. This fried rice features not one, not two, but three different types of chilies, combined with the fragrance of Thai basil to tie it all together! And no, it doesn't make this dish overwhelmingly spicy, and you can indeed customize the heat level while still preserving all the delicious chili flavour. It's not something I created out of thin air, but a traditional Thai dish (with a couple of tweaks from me)!
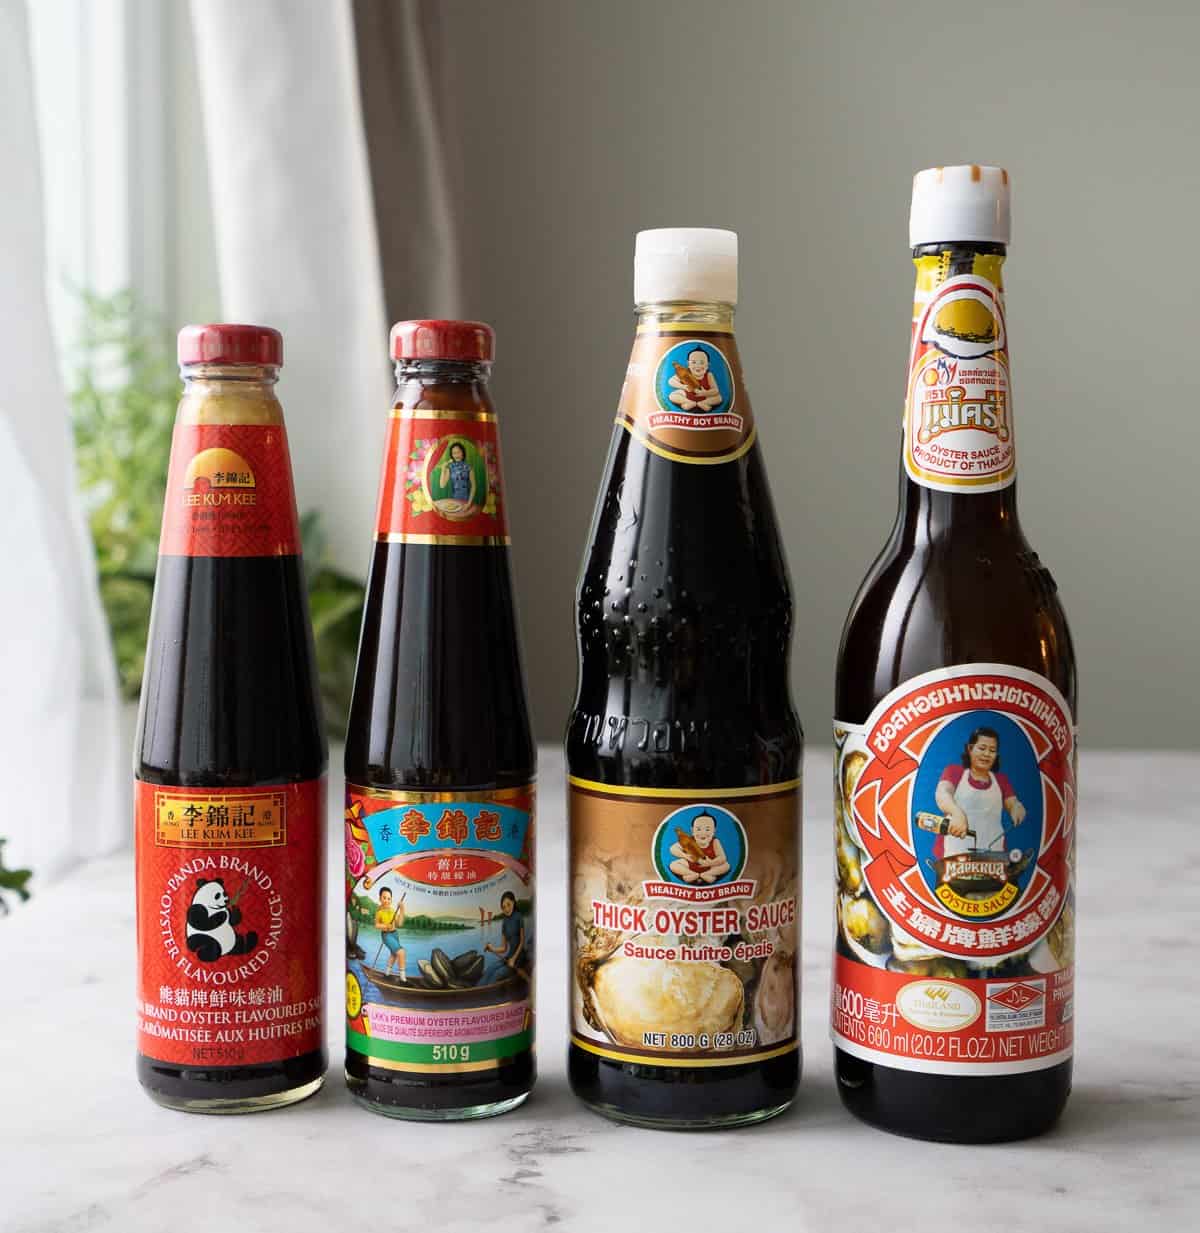
If you love cooking Asian food, oyster sauce is probably already in your kitchen. But do you know if the one you have is a "good one”? And is the expensive oyster sauce you bought (or didn't buy) worth the splurge?
With over 3 million views on YouTube, this recipe is one of the most popular, and an OG, on Hot Thai Kitchen. This world-famous tom yum soup is universally loved; and with this authentic recipe I promise you can make it as good as, if not better than, the ones in restaurants. It's one of the first dishes I learned to make as a child because it's so easy, making this a great first Thai dish to try!
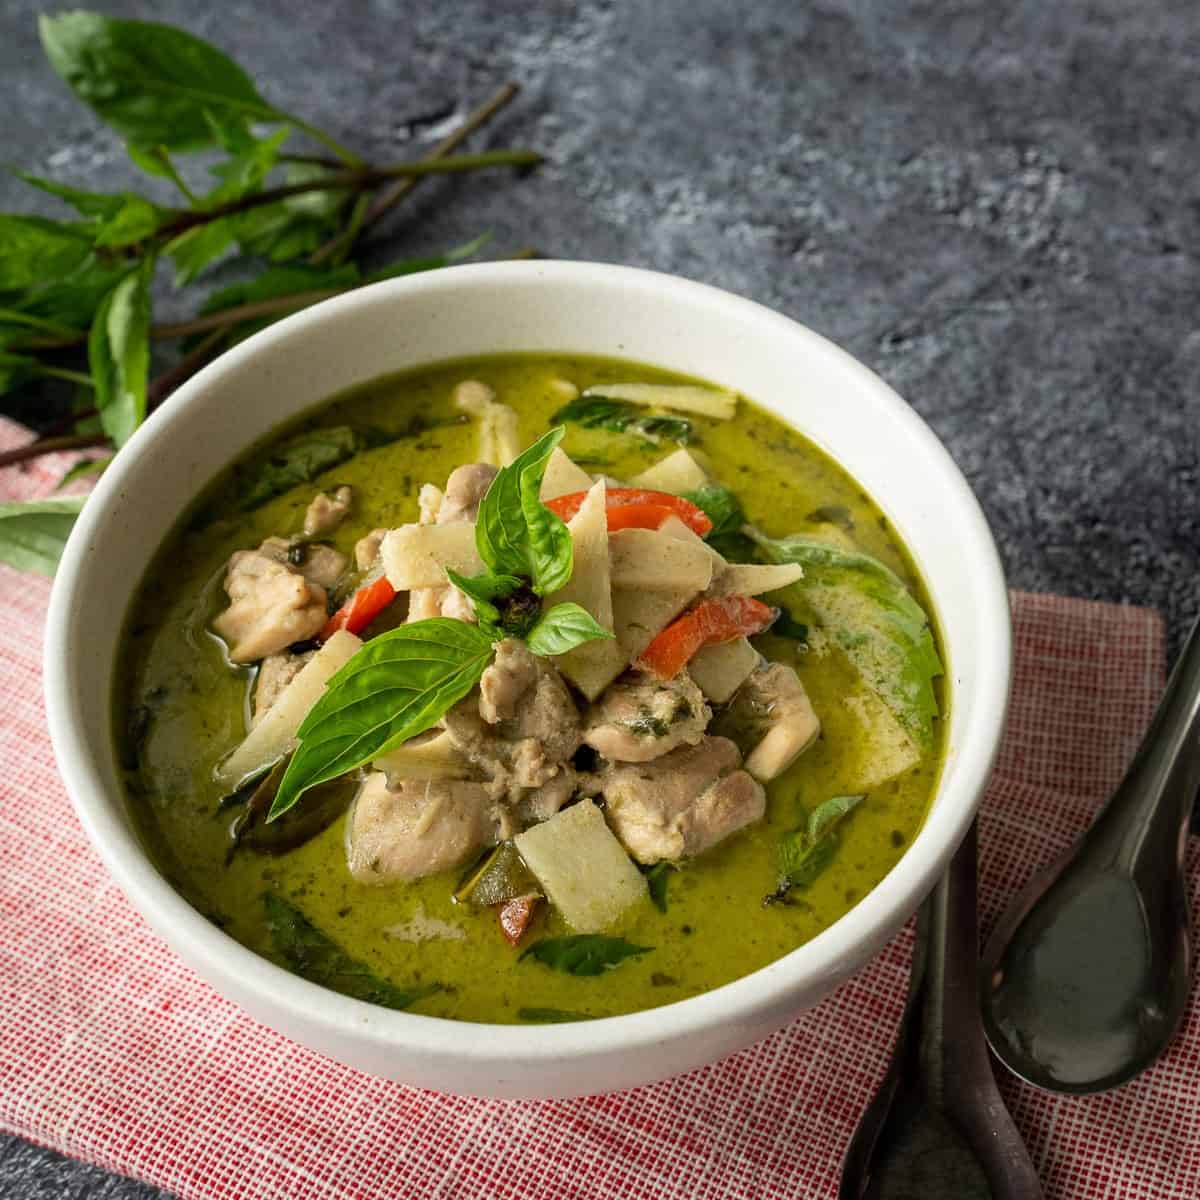
Thai green curry chicken is my most popular recipe on the YouTube channel with over 4 million views . If you want a completely authentic recipe, and one that maximizes deliciousness, this is it right here. It is one of the best known dishes of Thai cuisine, and despite its complex flavours, it is actually quite easy to make at home. It's also gluten free, and adaptable for vegans!
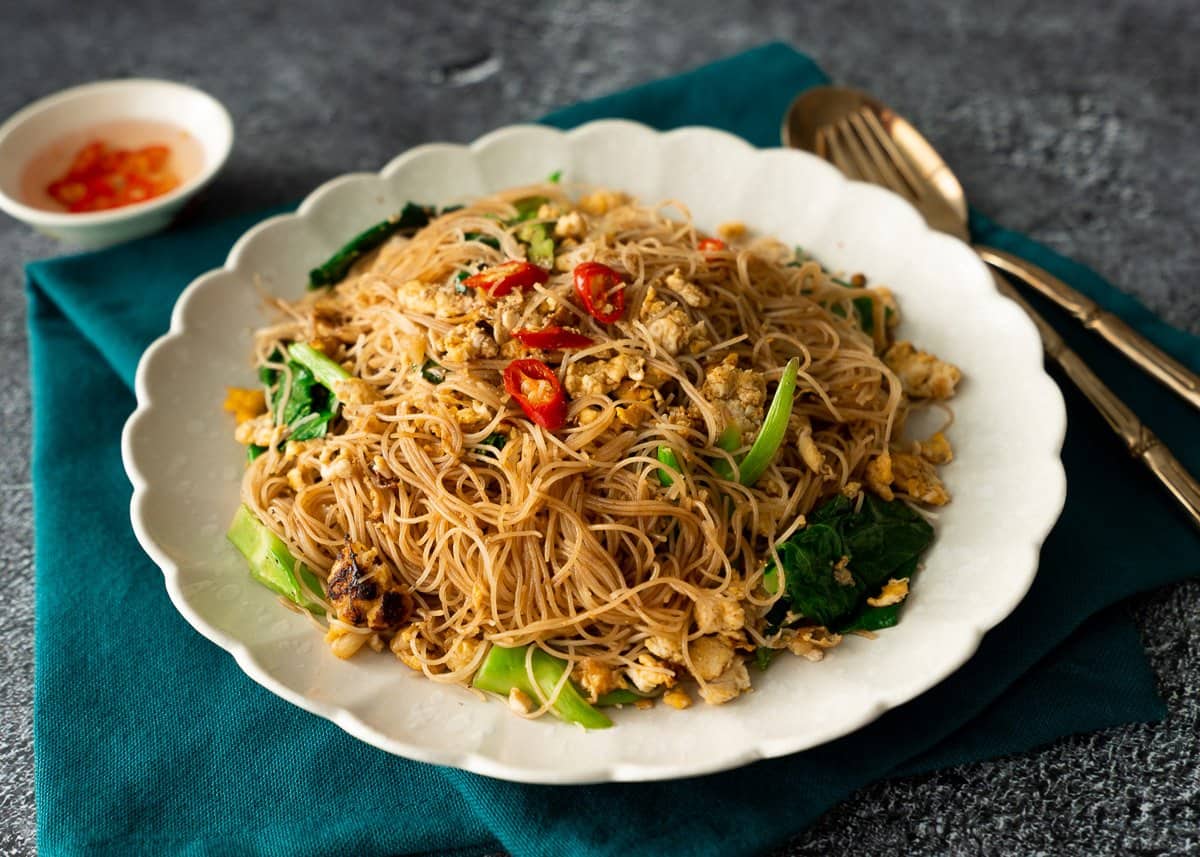
Pad see ew is one of the most well-known and well-loved Thai dishes, but most people only know of the more common version of pad see ew that uses fresh wide rice noodles (ho fun). This version however uses thin rice vermicelli, and it's the one that I actually grew up eating in Thailand. It’s an incredibly fast dish to make; from the time I get up to cook to the time I sit down to eat, it takes only 20 minutes! You can even watch me prep and cook it all up in real time in the video tutorial below just to see how fast it really is!
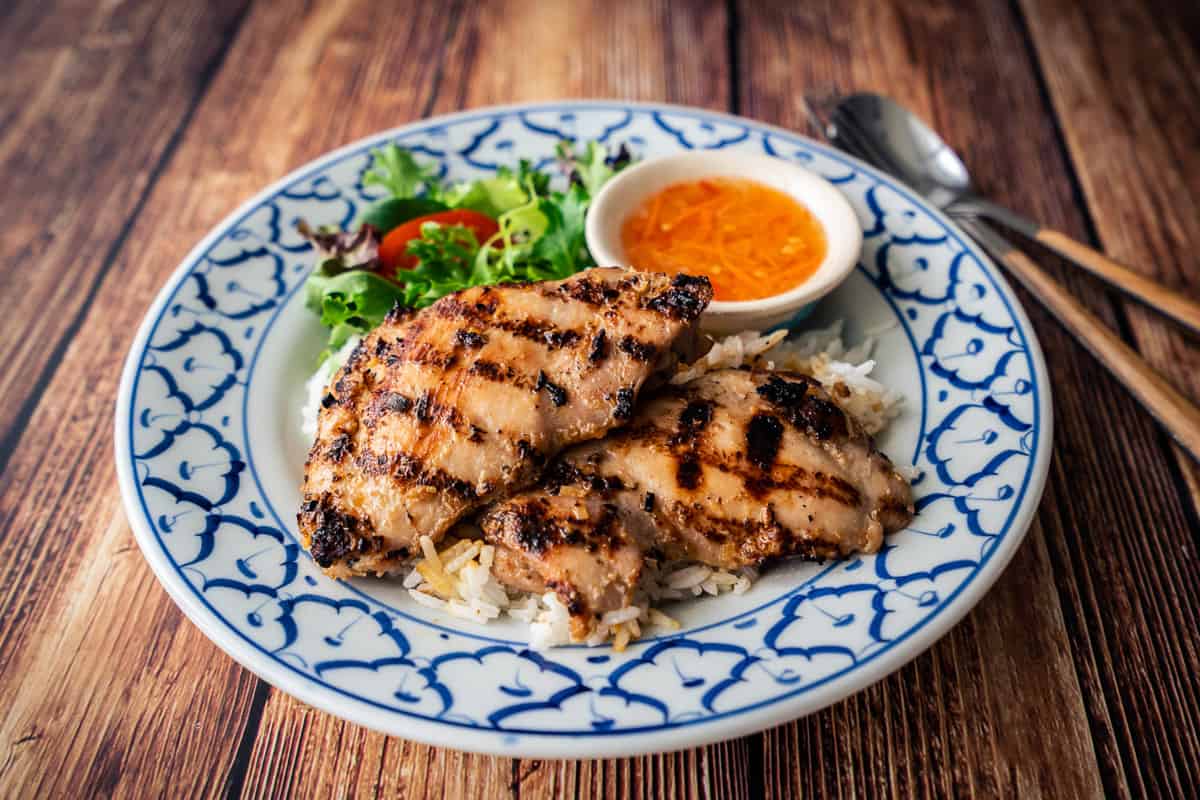
Easy, delicious, and versatile; what else could you ask for in a chicken recipe? Lemongrass chicken is a staple menu item in Vietnamese restaurants in Canada, and one that my husband gets all the time - which is why I was inspired to recreate it. It is so quick to prepare, kid-friendly, can last you the whole week in the fridge (yay meal prep), and you can grill or broil it!
We've been helping companies express themselves digitally for more than 20 years.