Hokkaido Milk Bread (Soft, Fluffy Asian Bread)

Pailin Chongchitnant • August 29, 2017

Jump to video!


The ultimate soft, fluffy, Asian-style bread with tender-but-chewy texture...it seems impossible to recreate at home but as I will show you, it is so easy! With this recipe (and its secret ingredient) I can guarantee you will have success with this bread. So if you've been intimidated by bread baking before, trust me, this recipe is super forgiving and I promise you will enjoy the result!

This recipe is a great base for making other kinds of bread products you may have drooled over at the Asian bakery...once you make the dough you can fill it, top it, wrap it, braid it...the options are endless!

Watch The Full Video Tutorial!

All my recipes come with step-by-step video tutorials with extra tips not mentioned in the blog post, so make sure you watch the video below to ensure success - and if you enjoy the show, please consider subscribing to my YouTube channel. Thank you!

Hokkaido milk bread sm

Hokkaido Milk Bread (Soft, Fluffy Asian Bread)


Ingredients

  • ½ cup (120 ml) whole milk
  • 20g + 320g bread flour
  • 2 tsp instant yeast
  • ½ cup (120 ml) evaporated milk
  • ¼ cup (56 g) softened butter, unsalted
  • 1 large egg, beaten
  • ½ tsp salt
  • 2 - 4 Tbsp sugar (see note)

Note: You can adjust the sugar amount to suit your taste. 2 Tbsp of sugar will give a neutral bread that works for savoury and sweet applications, while 4 Tbsp yield a distinctly sweet bread which works well as a stand-alone bread that doesn't need much sweet filling/topping, just some salted butter or perhaps you want to stir in some raisins and make raisin bread! 3 Tbsp makes a slightly sweet bread that is charming in its own way 🙂

Kitchen Tools and Ingredients I Use


Instructions

Make the tangzhong or milk roux:  

  1. Combine the whole milk with 20 g of bread flour in a small pot and stir until there are no more lumps. Heat the mixture over high heat, stirring constantly with a rubber spatula, it will get thicker and thicker until it becomes a very thick, sticky paste. Remove from heat.
  2. Transfer the tangzhong into a bowl and add evaporated milk; stir to mix briefly to cool the tangzhong down. Stir in the egg to combine, the mixture will be lumpy, that is okay.

Kneading by machine:

  1. In the bowl of a stand mixer, stir together the remaining 320g of bread flour and the yeast. Add the evaporated milk mixture and mix on medium-low speed, with a dough hook attachment, just until there is no more dry flour is left in the bowl, 1-2 minutes. (If the flour around the edges of the bowl has a hard time getting mixed in, you can stop and manually mix it a little bit to help it along.) Once no more dry flour is left in the bowl, stop the mixer and let the moistened flour rest, covering the bowl with a towel, for 20 mins. 
  2. After resting, turn the mixer back on low speed and gradually sprinkle in salt and sugar. Keep kneading until the dough is smooth, about 7-8 minute, stopping and pulling dough off the hook to "redistribute" the dough every minute or so.
  3. Once dough is smooth, add butter little at a time while machine is running. Knead the dough until all the butter is absorbed, stopping to scrape the bowl and pull dough off hook every minute or so. It will at first be a buttery mess, and you'll feel like there's no way all the butter will get absorbed, but I promise it will! 
  4. Once all butter has been absorbed and the dough is smooth, transfer the dough only a clean work surface and finish kneading by hand a few times. Form the dough into a ball and place is in a well-oiled bowl. Turn the dough around to coat the dough in oil on all sides, the cover and let proof at room temp for 1 hour or until double in size. (Continue with the recipe starting from where it says "Once the dough is proofed".)

Kneading by hand:

  1. In a large mixing bowl, stir together the remaining 320g of bread flour and the yeast. Add the evaporated milk mixture into the middle and stir with a wooden spoon just until there is no more dry flour. Let it rest, covered with a towel, for 20 minutes.
  2. After resting, flatten the dough and sprinkle salt over it, then knead it just until incorporated. Repeat with the sugar, 1 Tbsp as a time. Continue knead ingthe dough by hand until the dough is smooth.
  3. Once dough is smooth, flatten the dough again and add the butter onto the dough. Knead the butter into the dough (yes, it'll get messy) until the butter is all absorbed and the dough is super smooth.
  4. Form the dough into a ball and place is in a well-oiled bowl. Turn the dough around to coat the dough in oil on all sides, the cover and let proof at room temp for 1 hour or until double in size.

Shaping and Baking:

  1. Turn dough onto a clean work surface and press it down to deflate. At this point shape the dough as desired.
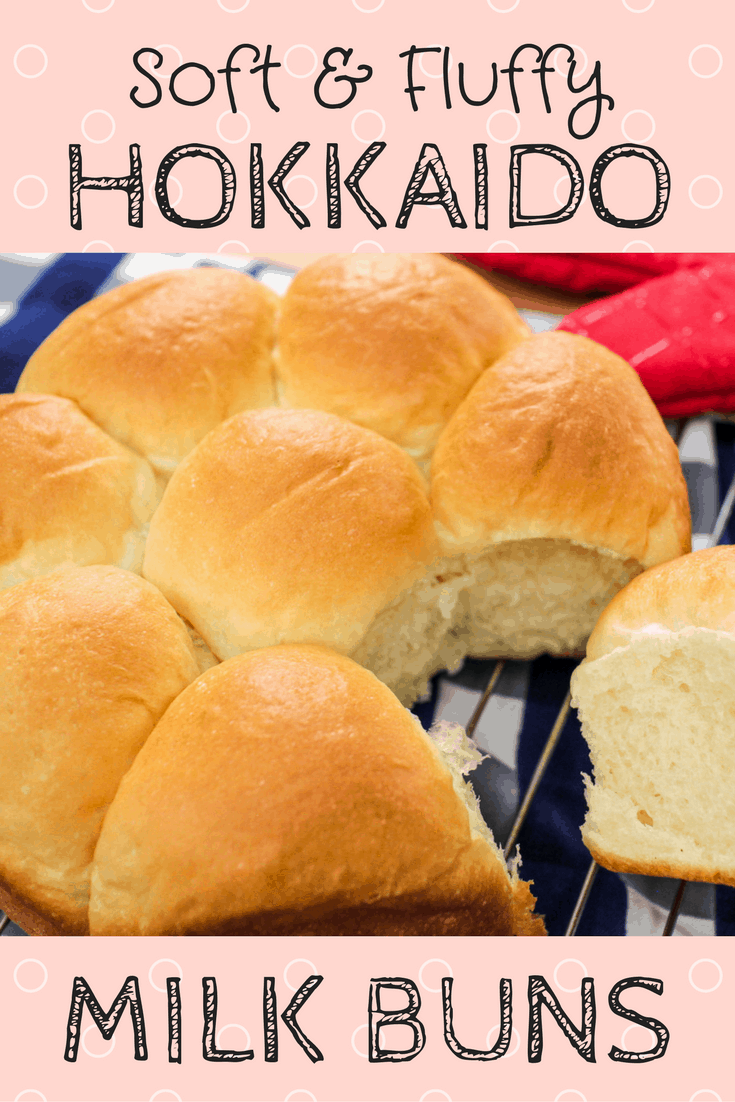
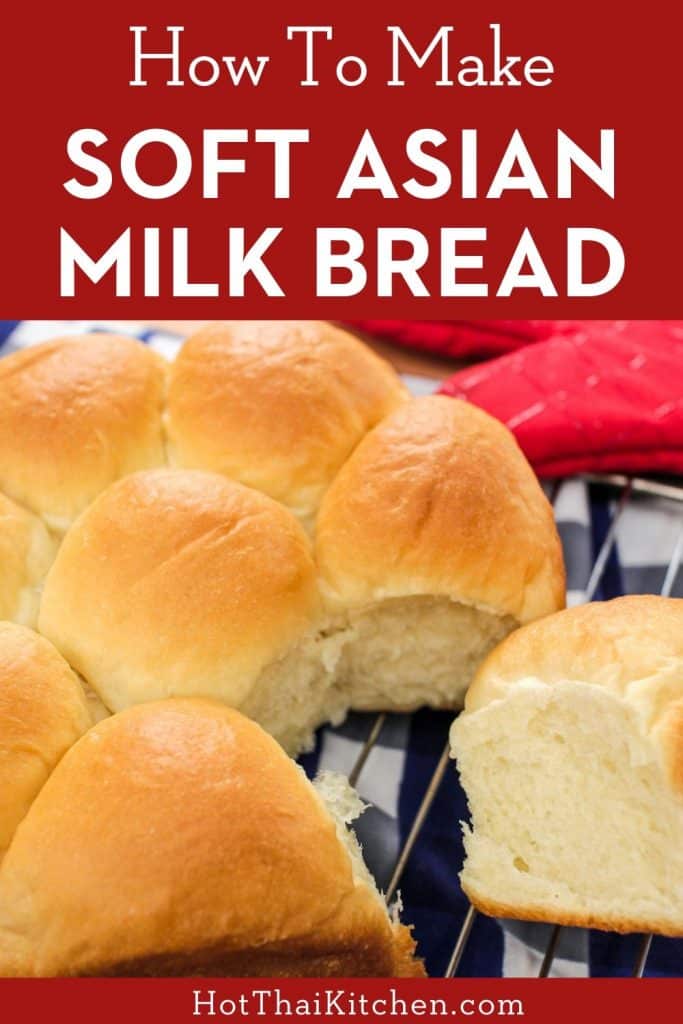
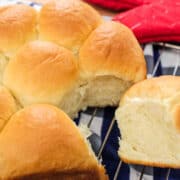
  2. For buns:  divide into 11 pieces (65g each) and form into balls using technique shown in the video. You can bake as free form buns, or put them into a greased cake pan and bake as pull-apart buns (as I did in the video). In the video, I used an 8-inch round pan, and was able to put 8 buns into it, with 3 extra ones that I baked as free form buns.
  3. For loaf: Divide into 3 or 4 equal pieces, form each into a ball and put in a buttered or parchment-lined loaf pan.
  4. Once shaped, proof again for another 45 mins to 1 hour, covered with a kitchen towel at room temp. 
  5. Meanwhile, preheat oven to 375 °F or 190 °C.
  6. Once proofed, bake in the over on the middle rack, and as soon as you put the bread in turn the temp down to 350°F (175°C). Bake until browned (14-15 mins for free form buns, 20-25 mins for round cake pan, 30-35 mins for loaf pans.) 
  7. Once done (the bread will sound hollow when tapped if it's done), let cool in the pan for about 5 minutes then flip out onto a rack and let cool completely. If making a loaf, do NOT cut the loaf with a knife when the bread is still warm or the condensation on the knife will make the bread wet!

Wanna try it Thai style? Enjoy with my Pandan Coconut Custard Dip! 

Join us on Patreon for bonus content & rewards!


Super soft and fluffy bread, just like at your favourite Asian bakery! Not hard at all to make at home, you just need to know a few techniques! #paiskitchen #milkbread #hokkaidomilkbread #bread #baking
A special (easy) technique to get you that soft, fluffy Asian milk bread of your dreams. The perfect bread to bake at home! #baking #bakingbread #milkbread
By Pailin Chongchitnant May 7, 2022
Tom yum goong maybe the most famous soup of Thailand, but its milder creamier sister, tom kha gai , is my personal favourite. This comforting Thai coconut chicken soup recipe is infused with the classic Thai herbs: lemongrass, galangal, and makrut (kaffir) lime leaves. It's so easy yet so loveable that when someone asks, "I'm new to Thai food, what should I try/make first?" Tom kha gai is my answer.
By Pailin Chongchitnant May 6, 2022
If you love mangoes, and you love mango desserts, Mango Royale, aka Mango Float, is an absolute must-try; right after mango and sticky rice , of course! It's a frozen Filipino dessert that takes advantage of peak-of-the-season mangoes, and uses only 5 ingredients. There's no baking involved, and it's so easy it's essentially fool-proof!
By Pailin Chongchitnant April 22, 2022
I LOVE all kinds of basil, but I don't love how quickly it goes bad and that it doesn't freeze well. So I came up with this recipe as a way to use up any amount of basil you have on hand . It's an easy and versatile sauce that only uses pantry staples, and can be stored in the fridge for at least a week. Reheat it and pour onto any cooked protein, or use it as a stir fry sauce - or heck, you can even use it as gravy for your mashed potatoes. It can also be made vegan. The possibilities are endless!
By Pailin Chongchitnant April 8, 2022
Imagine this: soft and creamy ice cream bars that you didn't need to whip or churn. All you have to do is cook the ice cream base, pour it into a mold, then cut it into pieces. And it's so soft your teeth will glide right through it as you take a bite, and it's wonderfully chewy. Yes, chewy.
By Pailin Chongchitnant March 25, 2022
I wanted a fried rice recipe that really celebrates the flavours of chilies - not just their heat. This fried rice features not one, not two, but three different types of chilies, combined with the fragrance of Thai basil to tie it all together! And no, it doesn't make this dish overwhelmingly spicy, and you can indeed customize the heat level while still preserving all the delicious chili flavour. It's not something I created out of thin air, but a traditional Thai dish (with a couple of tweaks from me)!
By Pailin Chongchitnant March 8, 2022
If you love cooking Asian food, oyster sauce is probably already in your kitchen. But do you know if the one you have is a "good one”? And is the expensive oyster sauce you bought (or didn't buy) worth the splurge?
By Pailin Chongchitnant March 3, 2022
With over 3 million views on YouTube, this recipe is one of the most popular, and an OG, on Hot Thai Kitchen. This world-famous tom yum soup is universally loved; and with this authentic recipe I promise you can make it as good as, if not better than, the ones in restaurants. It's one of the first dishes I learned to make as a child because it's so easy, making this a great first Thai dish to try!
By Pailin Chongchitnant March 1, 2022
Thai green curry chicken is my most popular recipe on the YouTube channel with over 4 million views . If you want a completely authentic recipe, and one that maximizes deliciousness, this is it right here. It is one of the best known dishes of Thai cuisine, and despite its complex flavours, it is actually quite easy to make at home. It's also gluten free, and adaptable for vegans!
By Pailin Chongchitnant February 21, 2022
Pad see ew is one of the most well-known and well-loved Thai dishes, but most people only know of the more common version of pad see ew that uses fresh wide rice noodles (ho fun). This version however uses thin rice vermicelli, and it's the one that I actually grew up eating in Thailand. It’s an incredibly fast dish to make; from the time I get up to cook to the time I sit down to eat, it takes only 20 minutes! You can even watch me prep and cook it all up in real time in the video tutorial below just to see how fast it really is!
By Pailin Chongchitnant February 7, 2022
Easy, delicious, and versatile; what else could you ask for in a chicken recipe? Lemongrass chicken is a staple menu item in Vietnamese restaurants in Canada, and one that my husband gets all the time - which is why I was inspired to recreate it. It is so quick to prepare, kid-friendly, can last you the whole week in the fridge (yay meal prep), and you can grill or broil it!
More Posts
Share by: