Mexican Coffee Buns (Rotiboy)

Pailin Chongchitnant • Oct 10, 2017

Jump to video!


O.M.G. these buns are SO delicious you've got to try them! These fluffy, buttery buns are topped with a coffee scented cookie crust, and because they're so ridiculously tasty they became wildly popular in Southeast Asia. "Rotiboy", which started in Malaysia, is perhaps the most well known brand that specializes in these buns, but since then there have been a few others such as papparoti and Mr. Bun.

But once you know how to make the basic fluffy milk bread dough (recipe linked below), the rest is quite easy! Give it a go and you'll find there is nothing more satisfying than biting into these...crispy on the outside, buttery and a little salty on the inside, with a hint of coffee...mmm mm mmmm!

Watch The Full Video Tutorial!

All my recipes come with step-by-step video tutorials with extra tips not mentioned in the blog post, so make sure you watch the video below to ensure success - and if you enjoy the show, please consider subscribing to my YouTube channel. Thank you!

mexican coffee buns

Mexican Coffee Buns (Rotiboy)


Ingredients

  • 1 recipe hokkaido milk bread (see note)
  • 100 g salted butter, divided into 12 equal portions and keep cold (see note)

Coffee Cookie Topping

  • 120 g all-purpose flour
  • ¼ tsp baking powder
  • ¼ tsp salt
  • 100 g unsalted butter, softened
  • 90 g confectioners’ sugar
  • 2 large eggs
  • 1 tsp vanilla extract
  • 1 tsp hot water
  • 2 tsp instant coffee (if you don't want to do coffee flavour, feel free to use only vanilla or other flavouring extracts as you wish)

NOTE: Use 4 Tbsp sugar + 1 tsp vanilla in the bread recipe. You want to start this recipe out with the dough that has finished the first proofing and has doubled in size. You can make the dough the night before, let it proof in the fridge overnight, and then pull it out 2 hours before using so it has time to soften.

For the butter, you can simply cut them into cubes, but I find it easier to wrap butter that is round-ish rather than squared. So, I start out with soft butter and use a small disher or a measuring spoon to scoop out rounds. Place the pieces on a plate and then put it in the fridge to firm up.

Ingredients and Kitchen Tools I Use


Instructions

Start with Hokkaido milk bread dough that has proofed the first time until doubled in size. Turn dough out onto a work surface and press all the air out of it. Cut out one portion of the dough that weighs about 180 g (the total dough weight is about 700g). This small portion is your "inside dough", and the bigger part is your "outside dough".

Shape the smaller inside dough into a log, then cut into 12 equal pieces; I cut it first in half, then cut each half into quarters, then each quarter into 3. For each of the small pieces, roll it out into a round sheet. Place one piece of cold salted butter inside and wrap it really well, pinching and twisting the top to make sure it's as well sealed as possible. Turn it upside down so the seam is on the bottom, set aside. Repeat for all 12 pieces.

Now shape the bigger "outside dough" into a log, then cut it also into 12 pieces. Form each piece into a round ball (see video for technique) and roll the ball into a circular sheet. Place one of the inside dough-butter balls in the middle, seam side down, and wrap the outside dough around it, making sure to seal it as best you can. Turn the buns over so now the outside seam is down (and the butter seam is up), then place the bun on a parchment-lined or greased baking sheet. Repeat with the remaining dough. Make sure you give the buns plenty of space in between as they will expand a lot. 

Let the buns proof in a warm place, covered with a towel, until doubled in size which should take one more hour. If it's cold where you live, it may take longer.

Meanwhile, make the cookie topping:

Preheat the oven to 375°F or 190°C.

Combine instant coffee with hot water and stir to dissolve, then add vanilla and stir.

In a small bowl, whisk the flour, baking powder, and salt together.

In a large mixing bowl, beat butter and powdered sugar with an electric mixer on low speed, then once the sugar is mixed in, increase the speed to medium-high and beat until light and fluffy, scraping the bowl once or twice in between.

Add eggs, one at a time, beating until well-combined after each addition. Add the coffee mixture and beat to combine, then add the flour mixture and beat just until combined, stopping to scrape the bowl once in between as needed. 

Once combined, give it a mix with a rubber spatula one more time, scraping the bottom to make sure everything is well mixed. Transfer the dough into a piping bag or a heavy-duty zip-top bag (do not use sandwich bags, those are too thin). Set aside until ready to use (if it's really warm where you live, I would stick it in the fridge while you wait for the buns to finish rising, but do not refrigerate for longer than 15 minutes or so or it will become too hard to pipe.)

Once the buns are risen until doubled in size, p ipe a spiral onto the buns, covering them as close to the outside edge as possible. Bake 15-18 mins until the bottoms are browned and the top has darkened slightly. If you have 2 pans, I would bake one at a time for even cooking. 

If the butter leaks out around the buns, do not worry! This happens to me too, usually I get a few that leak despite my best efforts. If this happens, just leave them on the pan and as they cool the buns will absorb the butter back in, and you'll still get the same buttery salty flavour, except now it is more on the bottom of the buns rather than inside.

Let the buns cool for at least 5-10 minutes before serving or until the cookie crust firms up and becomes crispy. If the cookie crust has lost its crispiness (which happens naturally after about a day) simply put them in the oven for 5-7 minutes to crisp them back up.

You can freeze these buns too! To reheat, microwave it briefly (20-30 seconds) just to take the chill off, then bake it in a 350F oven (or toaster oven) for 5-7 minutes until the cookie crust is crispy again.

Enjoy!

Join us on Patreon for bonus content & rewards!


The post Mexican Coffee Buns (Rotiboy) appeared first on Hot Thai Kitchen.

By Pailin Chongchitnant 07 May, 2022
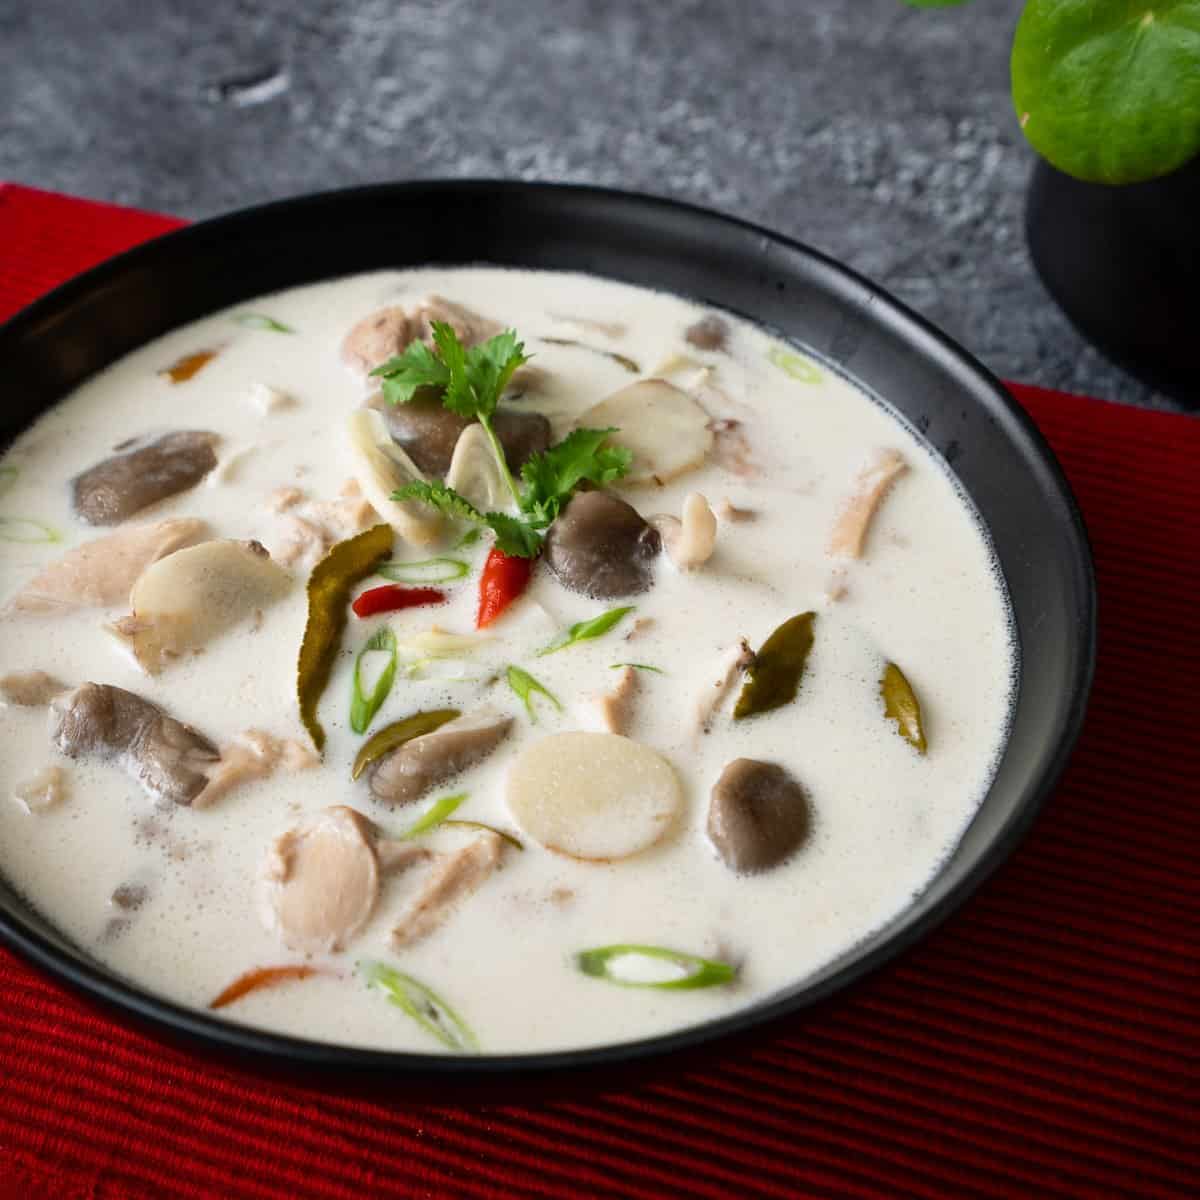
Tom yum goong maybe the most famous soup of Thailand, but its milder creamier sister, tom kha gai , is my personal favourite. This comforting Thai coconut chicken soup recipe is infused with the classic Thai herbs: lemongrass, galangal, and makrut (kaffir) lime leaves. It's so easy yet so loveable that when someone asks, "I'm new to Thai food, what should I try/make first?" Tom kha gai is my answer.
By Pailin Chongchitnant 06 May, 2022
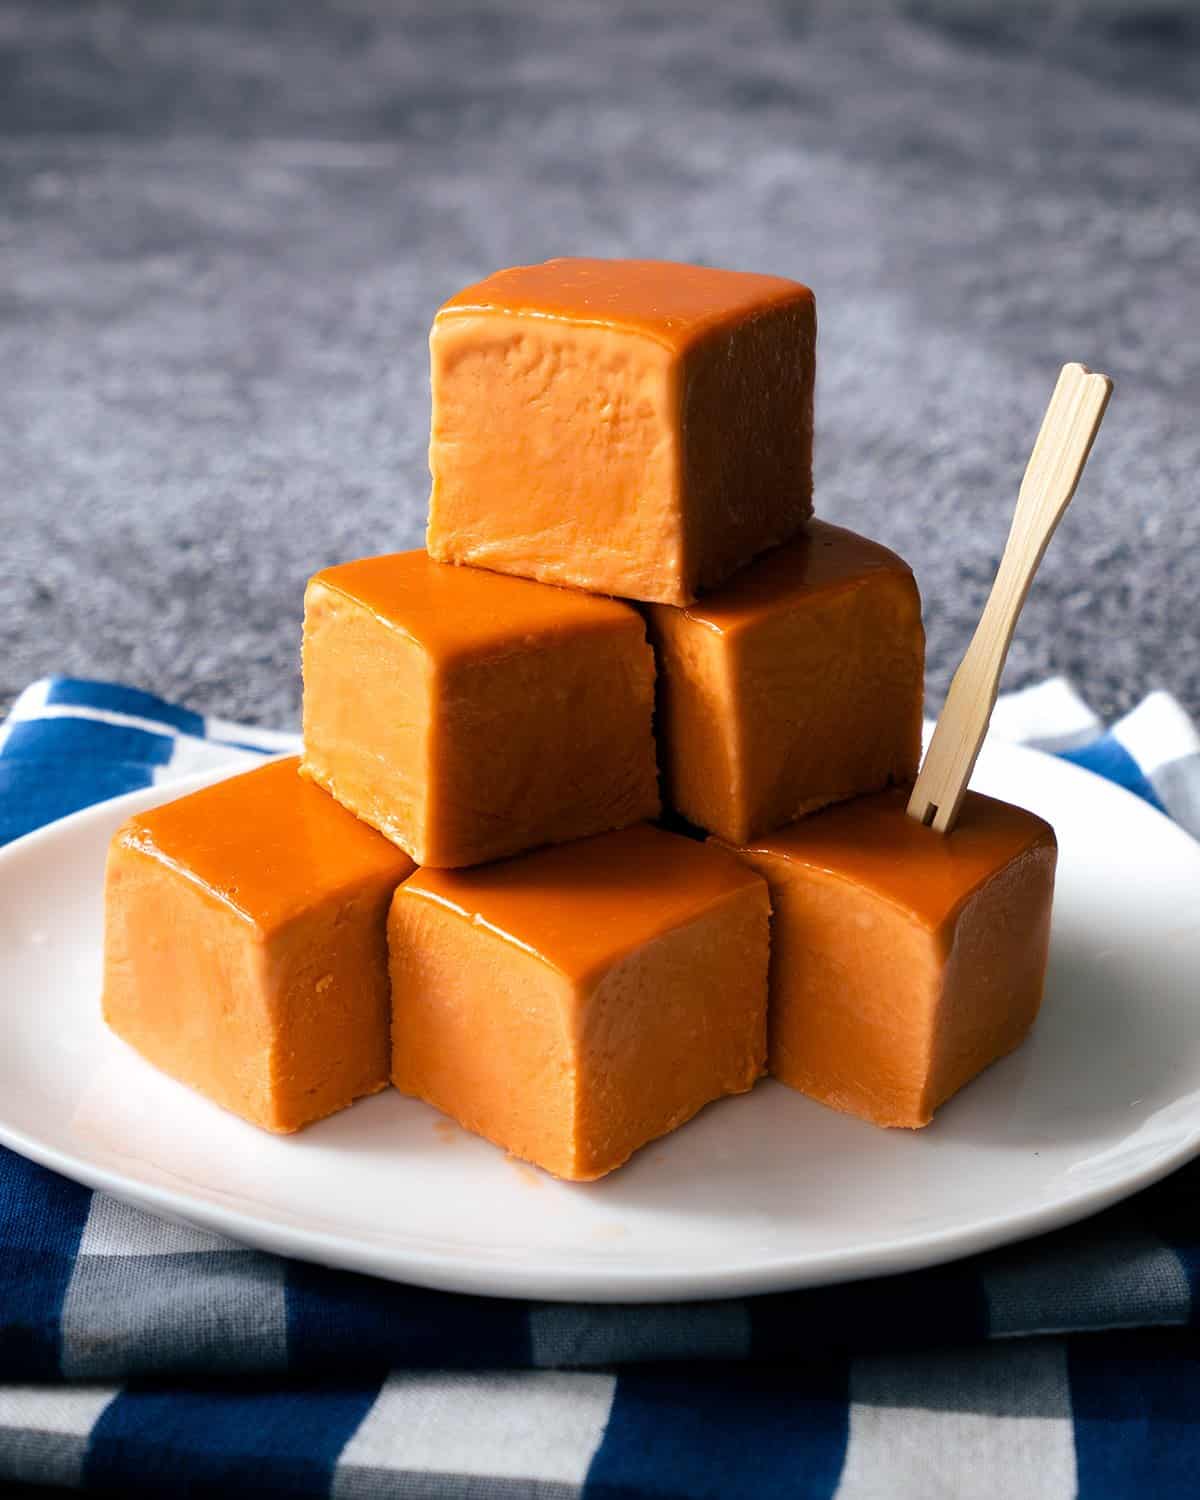
If you love mangoes, and you love mango desserts, Mango Royale, aka Mango Float, is an absolute must-try; right after mango and sticky rice , of course! It's a frozen Filipino dessert that takes advantage of peak-of-the-season mangoes, and uses only 5 ingredients. There's no baking involved, and it's so easy it's essentially fool-proof!
By Pailin Chongchitnant 22 Apr, 2022
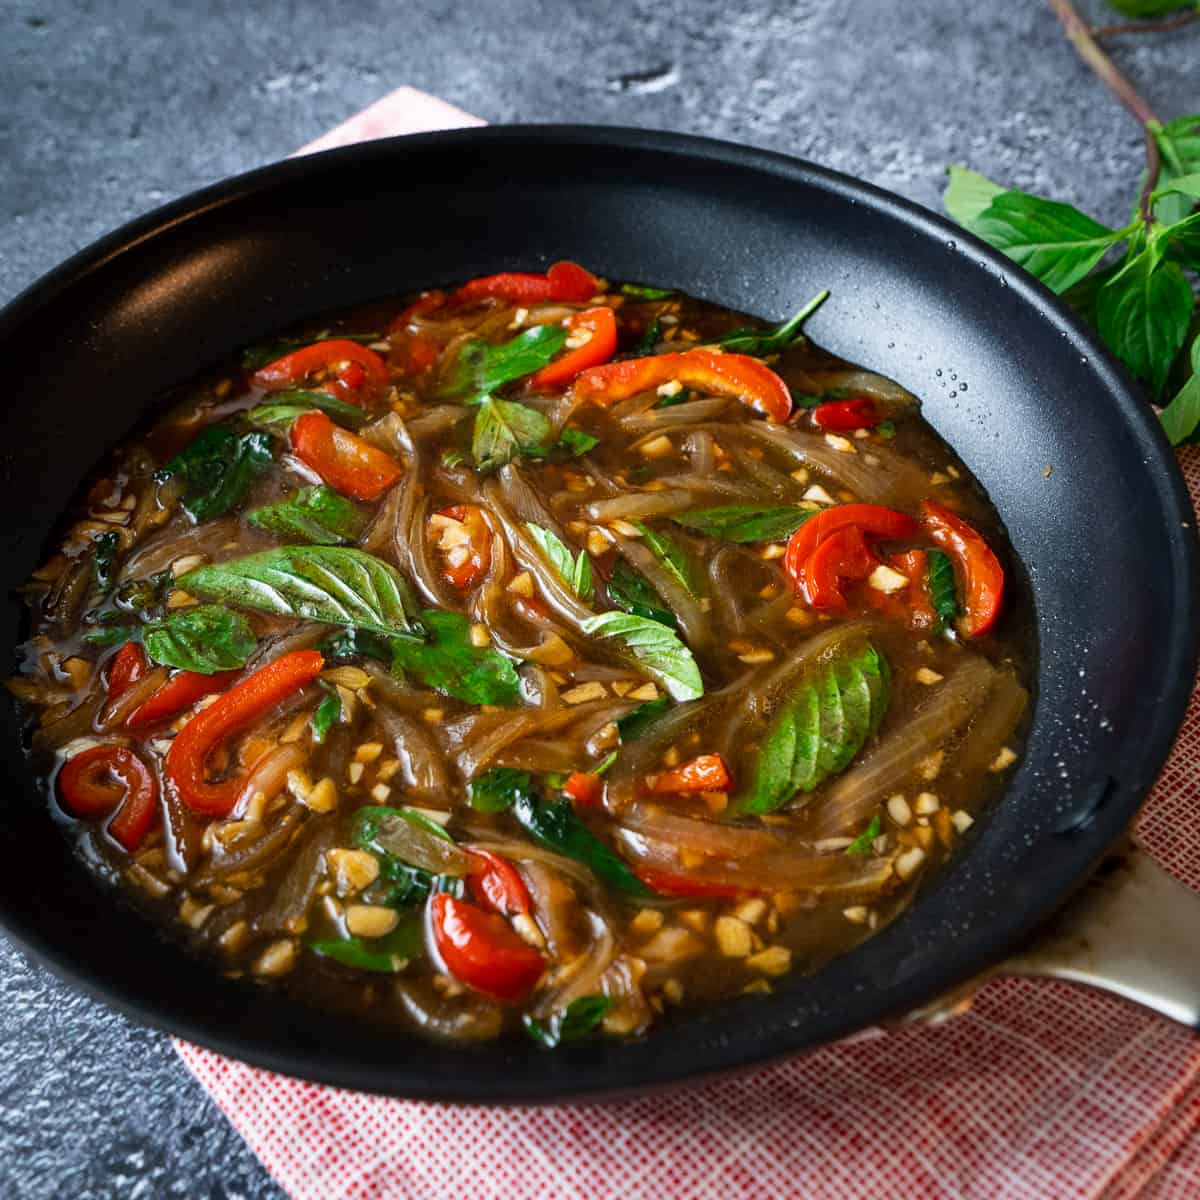
I LOVE all kinds of basil, but I don't love how quickly it goes bad and that it doesn't freeze well. So I came up with this recipe as a way to use up any amount of basil you have on hand . It's an easy and versatile sauce that only uses pantry staples, and can be stored in the fridge for at least a week. Reheat it and pour onto any cooked protein, or use it as a stir fry sauce - or heck, you can even use it as gravy for your mashed potatoes. It can also be made vegan. The possibilities are endless!
By Pailin Chongchitnant 08 Apr, 2022
Imagine this: soft and creamy ice cream bars that you didn't need to whip or churn. All you have to do is cook the ice cream base, pour it into a mold, then cut it into pieces. And it's so soft your teeth will glide right through it as you take a bite, and it's wonderfully chewy. Yes, chewy.
By Pailin Chongchitnant 25 Mar, 2022
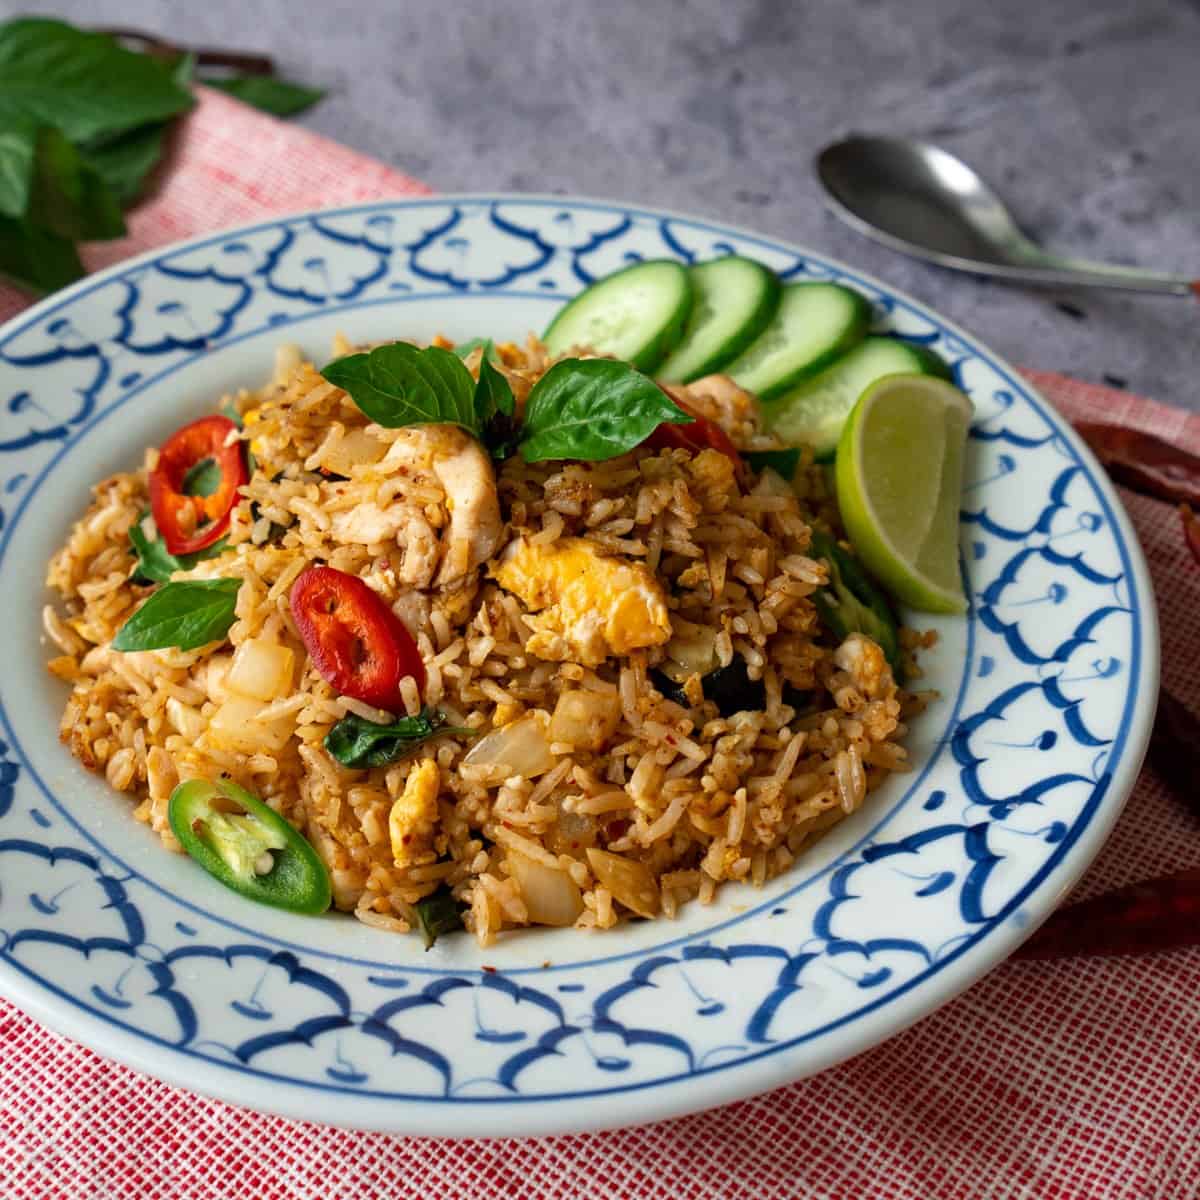
I wanted a fried rice recipe that really celebrates the flavours of chilies - not just their heat. This fried rice features not one, not two, but three different types of chilies, combined with the fragrance of Thai basil to tie it all together! And no, it doesn't make this dish overwhelmingly spicy, and you can indeed customize the heat level while still preserving all the delicious chili flavour. It's not something I created out of thin air, but a traditional Thai dish (with a couple of tweaks from me)!
By Pailin Chongchitnant 08 Mar, 2022
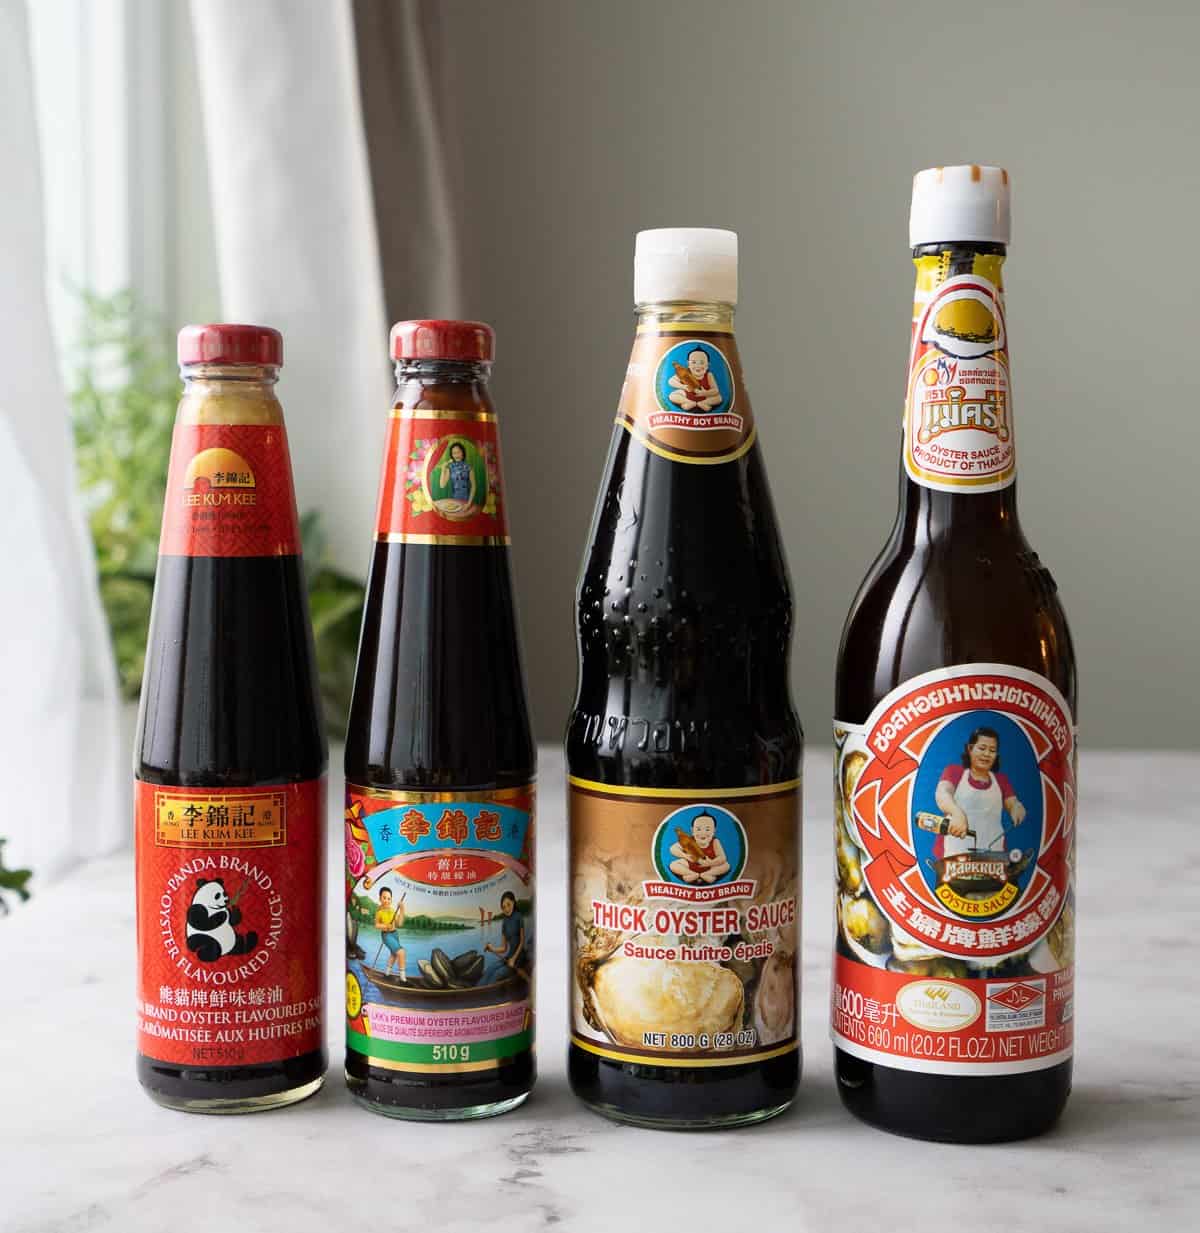
If you love cooking Asian food, oyster sauce is probably already in your kitchen. But do you know if the one you have is a "good one”? And is the expensive oyster sauce you bought (or didn't buy) worth the splurge?
By Pailin Chongchitnant 03 Mar, 2022
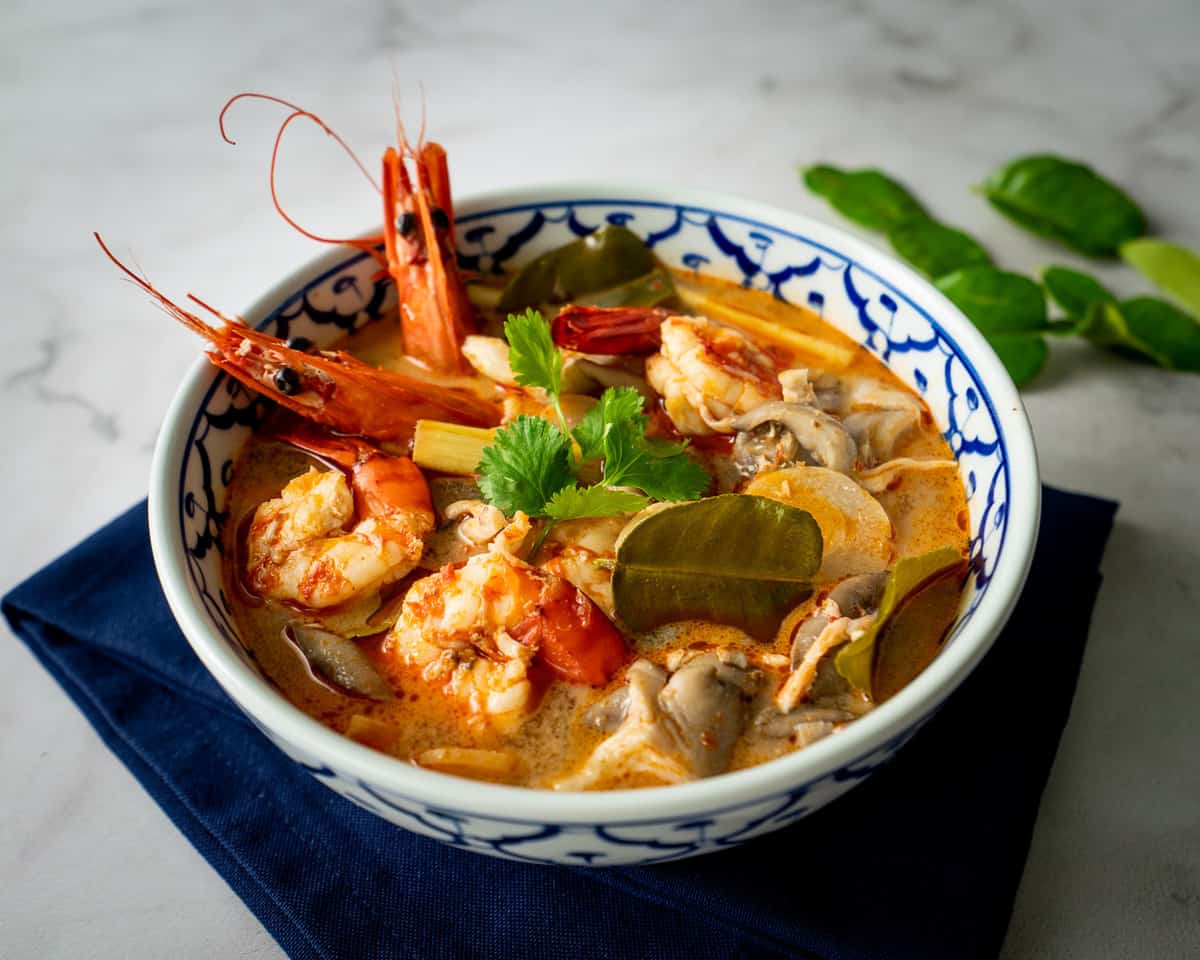
With over 3 million views on YouTube, this recipe is one of the most popular, and an OG, on Hot Thai Kitchen. This world-famous tom yum soup is universally loved; and with this authentic recipe I promise you can make it as good as, if not better than, the ones in restaurants. It's one of the first dishes I learned to make as a child because it's so easy, making this a great first Thai dish to try!
By Pailin Chongchitnant 01 Mar, 2022
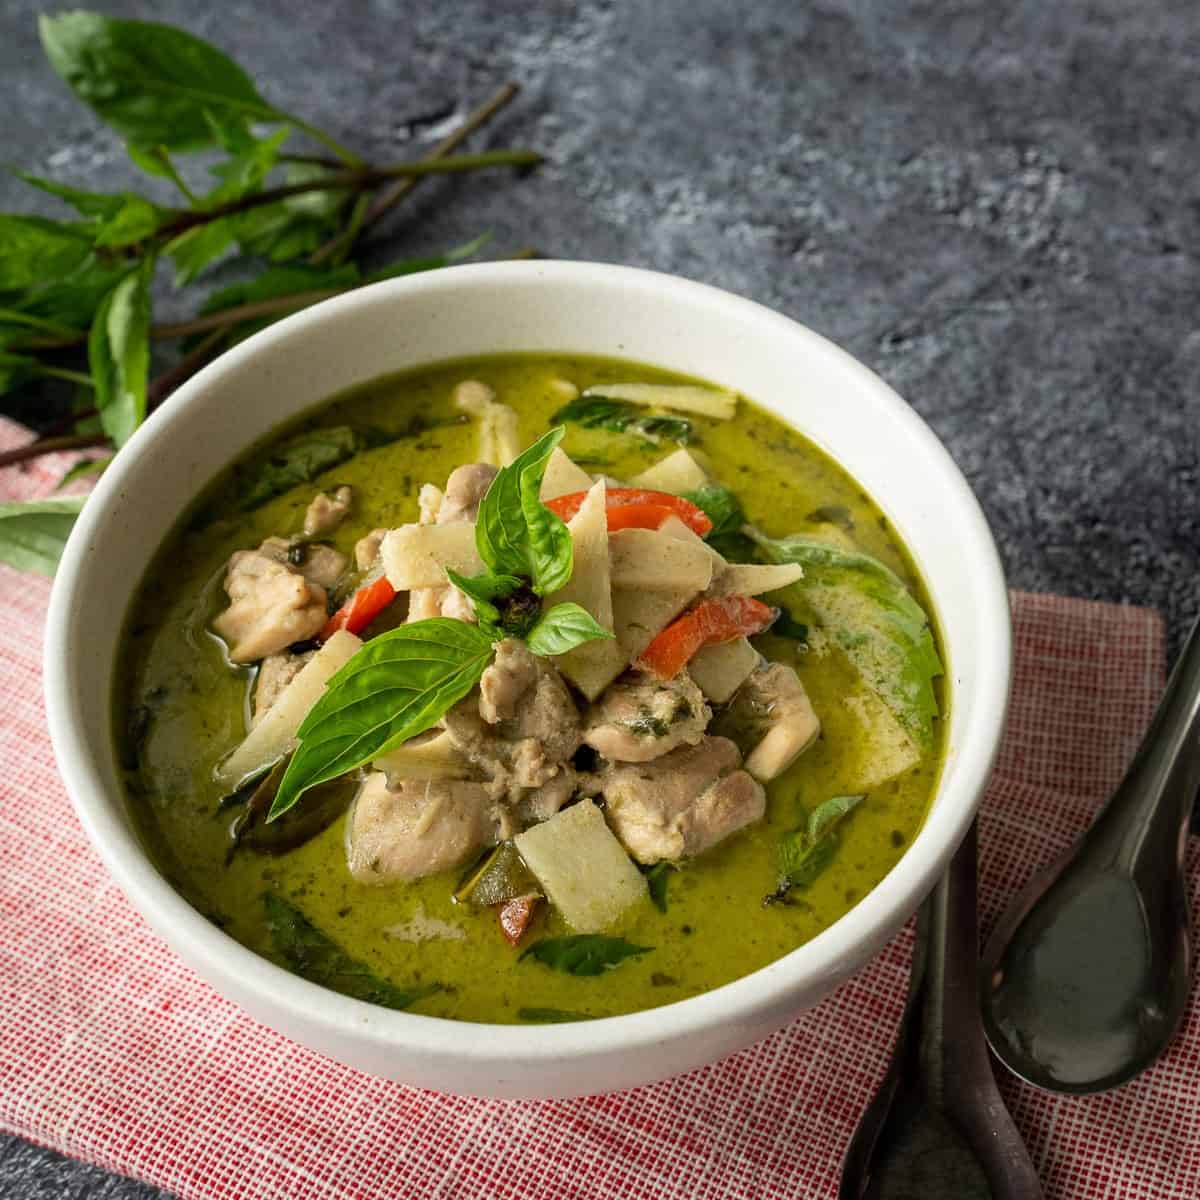
Thai green curry chicken is my most popular recipe on the YouTube channel with over 4 million views . If you want a completely authentic recipe, and one that maximizes deliciousness, this is it right here. It is one of the best known dishes of Thai cuisine, and despite its complex flavours, it is actually quite easy to make at home. It's also gluten free, and adaptable for vegans!
By Pailin Chongchitnant 21 Feb, 2022
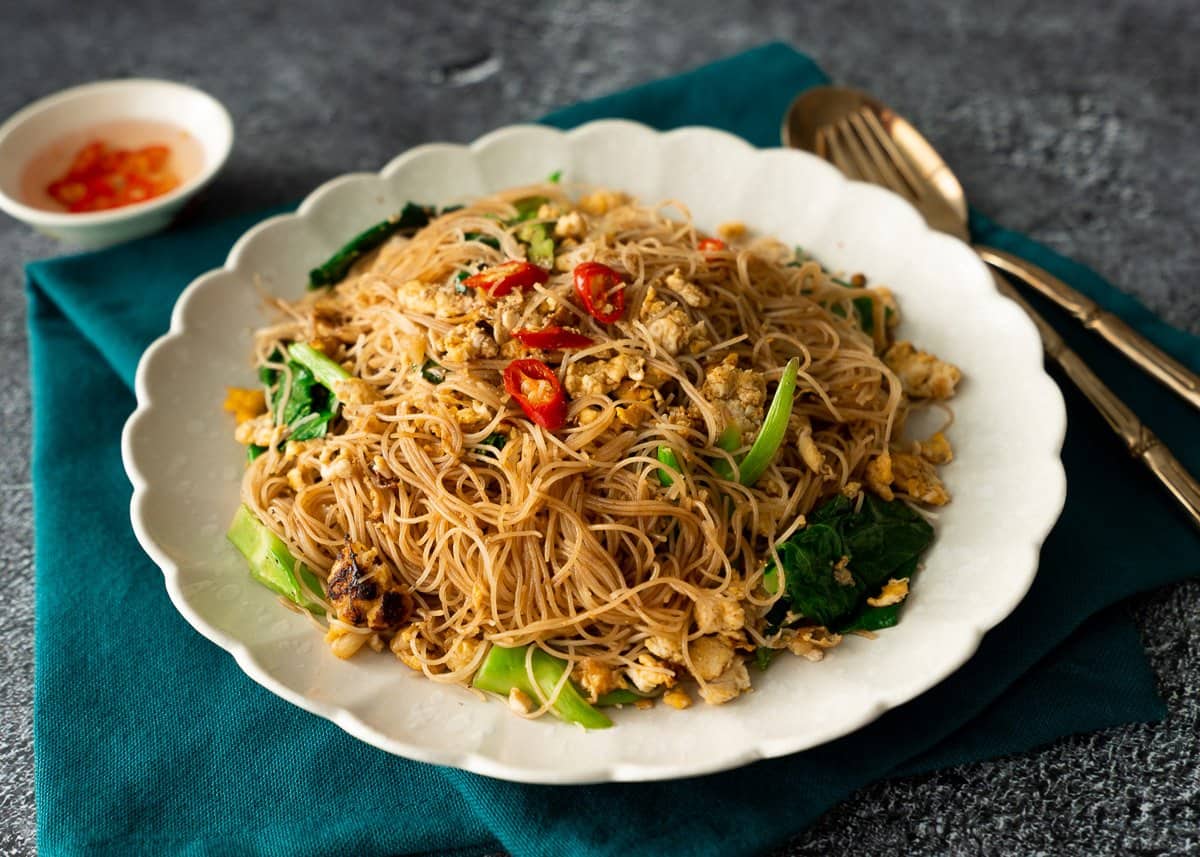
Pad see ew is one of the most well-known and well-loved Thai dishes, but most people only know of the more common version of pad see ew that uses fresh wide rice noodles (ho fun). This version however uses thin rice vermicelli, and it's the one that I actually grew up eating in Thailand. It’s an incredibly fast dish to make; from the time I get up to cook to the time I sit down to eat, it takes only 20 minutes! You can even watch me prep and cook it all up in real time in the video tutorial below just to see how fast it really is!
By Pailin Chongchitnant 07 Feb, 2022
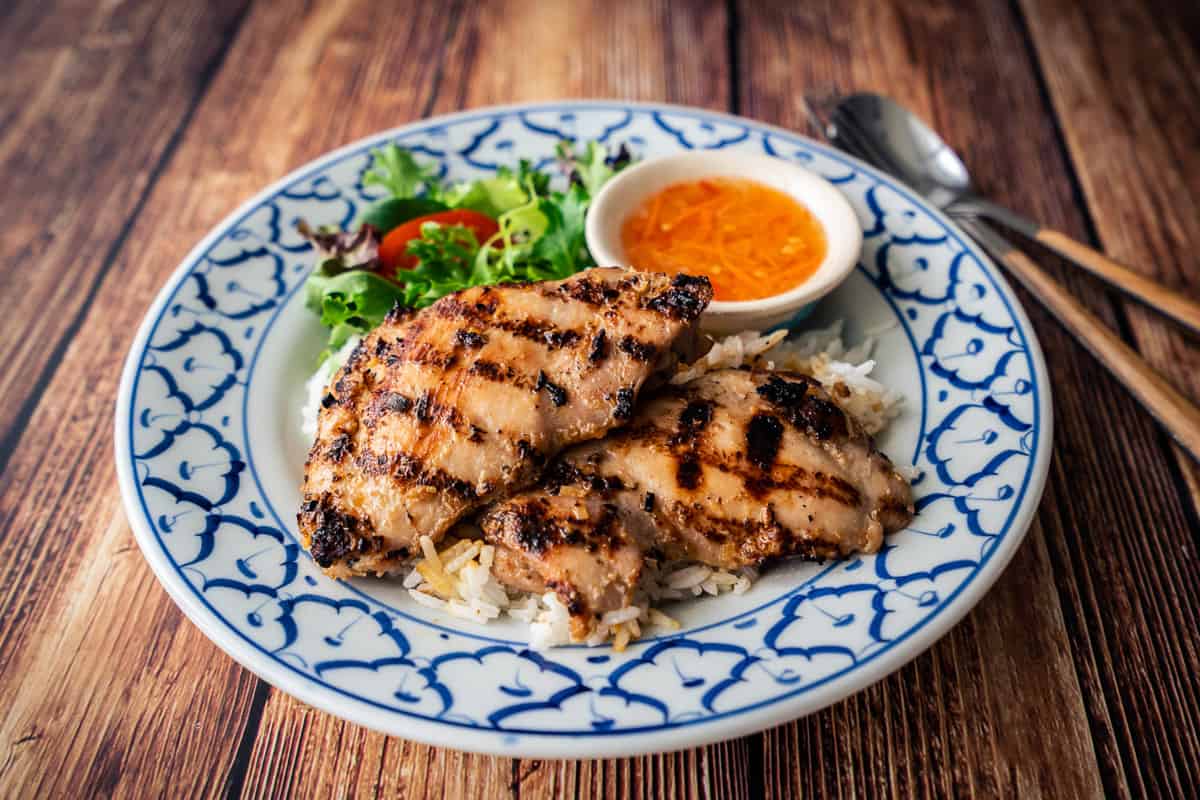
Easy, delicious, and versatile; what else could you ask for in a chicken recipe? Lemongrass chicken is a staple menu item in Vietnamese restaurants in Canada, and one that my husband gets all the time - which is why I was inspired to recreate it. It is so quick to prepare, kid-friendly, can last you the whole week in the fridge (yay meal prep), and you can grill or broil it!
More Posts
Share by: