Coffee & Cream Agar Jelly

Pailin Chongchitnant • August 24, 2018

Jump to video!


This is an easy, no bake, coffee dessert recipe that is a showstopper! Agar agar jelly is used instead of gelatin, which makes it vegetarian, or vegan if you only use coconut milk. Watch the video to see how simple it actually is to make this beauty! #coffeedessert #vegan #coffeejelly #agaragar #nobake

Agar agar jelly is a popular dessert in Thailand because it's so hot all the time! It's light, refreshing and delicious. This latest addition to my agar jelly recipe collection is quite different because of the robust Thai coffee flavour, perfect for all coffee lovers out there!

Making a big jelly with several layers like what I have here takes a while because you have to wait for each layer to set, so if you don't have much time, make your jelly in smaller molds so you don't have to wait so long. Any size cups work will work, any jello molds, animal shapes, flower shapes any shapes you want will work for this recipe!

Agar agar is made from seaweed so it's a great vegetarian or vegan alternative to gelatin! However, the texture between the two is quite different, agar agar doesn't melt in your mouth like gelatin does, and it's not jiggly and wobbly. It's firmer and crumbles in your mouth, but still really refreshing!

This is an easy, no bake, coffee dessert recipe that is a showstopper! Agar agar jelly is used instead of gelatin, which makes it vegetarian, or vegan if you only use coconut milk. Watch the video to see how simple it actually is to make this beauty! #coffeedessert #vegan #coffeejelly #agaragar #nobake

This is an easy, no bake, coffee dessert recipe that is a showstopper! Agar agar jelly is used instead of gelatin, which makes it vegetarian, or vegan if you only use coconut milk. Watch the video to see how simple it actually is to make this beauty! #coffeedessert #vegan #coffeejelly #agaragar #nobake

Also Watch: Agar Jelly Fruit Cake

Watch The Full Video Tutorial!

All my recipes come with step-by-step video tutorials with extra tips not mentioned in the blog post, so make sure you watch the video below to ensure success - and if you enjoy the show, please consider subscribing to my YouTube channel. Thank you!


This is an easy, no bake, coffee dessert recipe that is a showstopper! Agar agar jelly is used instead of gelatin, which makes it vegetarian, or vegan if you only use coconut milk. Watch the video to see how simple it actually is to make this beauty! #coffeedessert #vegan #coffeejelly #agaragar #nobake

Coffee & Cream Agar Jelly


Ingredients

Coffee Layer

  • 4 - 6 Tbsp Thai coffee powder (see note 1) 
  • 3 cups (720ml) water, divided
  • 2 ½ tsp (6.5 g) agar agar powder (make sure you're using powder, not flakes!)
  • ½ cup (120ml) sugar
  • A little pinch of salt

Cream Layer

  • 1 ½ cups (360ml) water
  • 2 ½ tsp (6.5 g) agar agar powder
  • ½ cup (120ml) sugar
  • ¾ cup (180ml) evaporated milk
  • ¾ cup (180ml) coconut milk (see note 2)
  • A bigger pinch of salt (a little less than ⅛ tsp) 
  • A mold of your choice (see note 3)

Shop Ingredients and Tools I use


Instructions

Make the coffee layer:  

  1. Steep the Thai coffee powder in 1 ½ cups (360ml) of hot off-the-boil water for about 5 minutes. I put my coffee in a cloth "coffee bag" and let the bag sit in water (see video), but you can also add coffee directly to water and strain it out through whatever coffee filter or fine-weave cloth you have. 
  2. Meanwhile in a small pot, mix agar agar powder and the remaining 1 ½ cups (360ml) water in a small pot.  Bring to a full boil over high heat, stirring constantly.
  3. Once it comes to a full boil, turn down the heat and check to see that the agar agar powder has completely dissolved by spooning some liquid into a metal spoon, then pour off the liquid and look to see if there are any grains of powder stuck to the spoon. If not, you're good to go! 
  4. Add the coffee, sugar and a little pinch of salt to the agar agar solution. Bring to a simmer to make sure all the sugar has dissolved, then at this point you can taste to see if you're happy with how sweet it is. Feel free to add more sugar to taste.
  5. Keep the pot covered and hot while you make the cream layer.

Make the cream layer:  

  1. In another small pot  mix the agar agar powder and the water in a small pot.  Bring to a full boil over high heat, stirring constantly.
  2. Once it comes to a full boil, turn down the heat and check to see that the agar agar powder has completely dissolved. 
  3. Add the coconut milk, evaporated milk, sugar and salt to the agar agar solution. Bring to a simmer to make sure all the sugar has dissolved, then at this point you can taste to see if you're happy with how sweet it is. Feel free to add more sugar or salt to taste. 
  4. Keep the pot covered and hot.

Tips for keeping the agar agar hot when not using:  You can keep them on the lowest heat setting on the stove, but be careful, you don't want it to be simmering away, and some stove's "lowest" heat setting (especially on gas stoves) is still too hot. In that case you can keep the pots covered in a hot water bath, or try keeping them in a low oven (150°F). If your stove has a "warming plate" that seems to work really well.
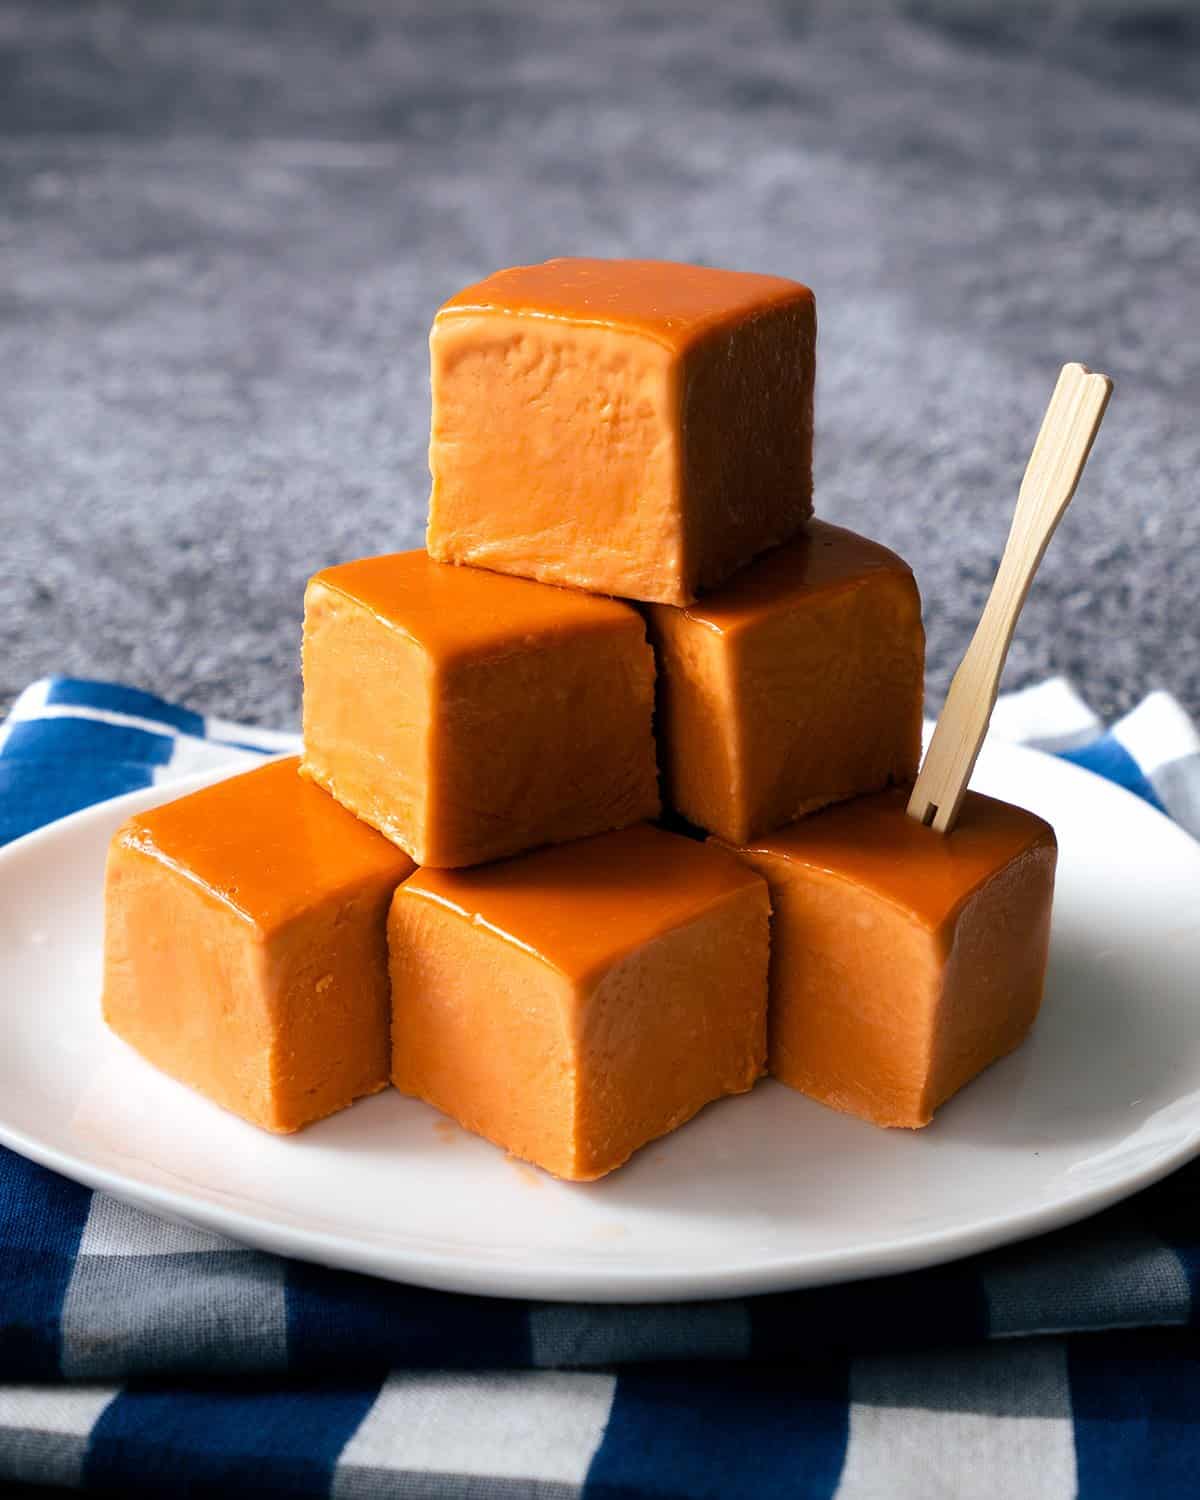
Assembly

  1. If using a large, non-flexible mold like me, you may want to grease it with a very light layer of oil. 
  2. Choose which colour you want to end up on top and start with that one. Pour a desired thickness of agar agar mixture into the mold (I used 1 cup per layer), then let it set just enough that you can press on it, but it should still be a bit soft and elastic underneath. (See video for when I do this). Do not let it get too cold and solid or the layers will not stick together.
  3. Once the first layer has set, pour on the second layer GENTLY so that you don't break the bottom layer. Make sure the second layer is hot enough that there is still steam coming off of it when you go to pour.
  4. Repeat until done. Then chill in the fridge until cold before serving.
  5. To unmold a large, hard pan like the one I used, run a thin spatula around the edge of the mold, you can dribble in a few drops of water around the edges while you do this as well to help it slide out more easily (see video for this technique). Flip onto a serving platter or cutting board, and wiggle it a bit and it should come out. If using a silicone mold you can just flip it and push the bottom of the mold inward to release it. For little individual molds you can use a toothpick to run along the sides and "flick" it out pretty easily.

Tips:

  1. I put a fan to the pan to help each layer cool faster. If making a large mold like me, the first layer took about 5 minutes to set enough, subsequent layers took longer and longer, and the last layer took about 15 minutes. For small molds, it will take a very short time.
  2. Pour the white layer through a fine sieve to catch any milk skin that has formed.
  3. Again, do not let the layer set cold and solid before pouring on another layer or the layers may separate.
  4. If you're concerned with the layers being the same thickness, make sure you measure how much liquid you use for each layer. FYI: There are about 3 cups of liquid total for each colour.

Love the show? Here's how you can support us!


Notes

  1. You can use non-Thai coffee as well but I would use more as Thai coffee is very dark and intense. 4 Tbsp of Thai coffee gives a mild but distinct coffee flavour, 6 Tbsp is pretty intense, I use 5 Tbsp.
  2. Make sure you use good quality coconut milk when making desserts, it makes a huge difference! See the one I recommend in this video where I also talk about everything you need to know about coconut milk.
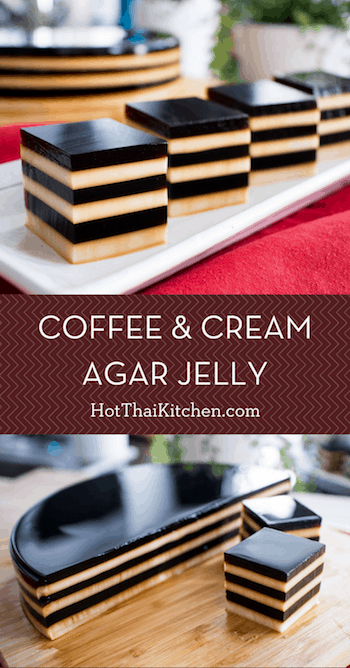
  3. Pan choice: The recipe fits an 8-inch x 2-inch round pan perfectly as shown in the video. However, you can use whatever mold you like, even small cups, bowls, square pans, etc. Flexible silicone molds and small, individual molds will make it easier to unmold the jelly.

Keywords: coffee jelly, coffee dessert, thai coffee, coffee and cream jelly, agar agar

This is an easy, no bake, coffee dessert recipe that is a showstopper for the summer! Agar jelly is used instead of gelatin, which makes it vegetarian, or vegan if you only use coconut milk. It’s also gluten free! #coffeedessert #summerdessert #nobake

The post Coffee & Cream Agar Jelly appeared first on Hot Thai Kitchen.

By Pailin Chongchitnant May 7, 2022
Tom yum goong maybe the most famous soup of Thailand, but its milder creamier sister, tom kha gai , is my personal favourite. This comforting Thai coconut chicken soup recipe is infused with the classic Thai herbs: lemongrass, galangal, and makrut (kaffir) lime leaves. It's so easy yet so loveable that when someone asks, "I'm new to Thai food, what should I try/make first?" Tom kha gai is my answer.
By Pailin Chongchitnant May 6, 2022
If you love mangoes, and you love mango desserts, Mango Royale, aka Mango Float, is an absolute must-try; right after mango and sticky rice , of course! It's a frozen Filipino dessert that takes advantage of peak-of-the-season mangoes, and uses only 5 ingredients. There's no baking involved, and it's so easy it's essentially fool-proof!
By Pailin Chongchitnant April 22, 2022
I LOVE all kinds of basil, but I don't love how quickly it goes bad and that it doesn't freeze well. So I came up with this recipe as a way to use up any amount of basil you have on hand . It's an easy and versatile sauce that only uses pantry staples, and can be stored in the fridge for at least a week. Reheat it and pour onto any cooked protein, or use it as a stir fry sauce - or heck, you can even use it as gravy for your mashed potatoes. It can also be made vegan. The possibilities are endless!
By Pailin Chongchitnant April 8, 2022
Imagine this: soft and creamy ice cream bars that you didn't need to whip or churn. All you have to do is cook the ice cream base, pour it into a mold, then cut it into pieces. And it's so soft your teeth will glide right through it as you take a bite, and it's wonderfully chewy. Yes, chewy.
By Pailin Chongchitnant March 25, 2022
I wanted a fried rice recipe that really celebrates the flavours of chilies - not just their heat. This fried rice features not one, not two, but three different types of chilies, combined with the fragrance of Thai basil to tie it all together! And no, it doesn't make this dish overwhelmingly spicy, and you can indeed customize the heat level while still preserving all the delicious chili flavour. It's not something I created out of thin air, but a traditional Thai dish (with a couple of tweaks from me)!
By Pailin Chongchitnant March 8, 2022
If you love cooking Asian food, oyster sauce is probably already in your kitchen. But do you know if the one you have is a "good one”? And is the expensive oyster sauce you bought (or didn't buy) worth the splurge?
By Pailin Chongchitnant March 3, 2022
With over 3 million views on YouTube, this recipe is one of the most popular, and an OG, on Hot Thai Kitchen. This world-famous tom yum soup is universally loved; and with this authentic recipe I promise you can make it as good as, if not better than, the ones in restaurants. It's one of the first dishes I learned to make as a child because it's so easy, making this a great first Thai dish to try!
By Pailin Chongchitnant March 1, 2022
Thai green curry chicken is my most popular recipe on the YouTube channel with over 4 million views . If you want a completely authentic recipe, and one that maximizes deliciousness, this is it right here. It is one of the best known dishes of Thai cuisine, and despite its complex flavours, it is actually quite easy to make at home. It's also gluten free, and adaptable for vegans!
By Pailin Chongchitnant February 21, 2022
Pad see ew is one of the most well-known and well-loved Thai dishes, but most people only know of the more common version of pad see ew that uses fresh wide rice noodles (ho fun). This version however uses thin rice vermicelli, and it's the one that I actually grew up eating in Thailand. It’s an incredibly fast dish to make; from the time I get up to cook to the time I sit down to eat, it takes only 20 minutes! You can even watch me prep and cook it all up in real time in the video tutorial below just to see how fast it really is!
By Pailin Chongchitnant February 7, 2022
Easy, delicious, and versatile; what else could you ask for in a chicken recipe? Lemongrass chicken is a staple menu item in Vietnamese restaurants in Canada, and one that my husband gets all the time - which is why I was inspired to recreate it. It is so quick to prepare, kid-friendly, can last you the whole week in the fridge (yay meal prep), and you can grill or broil it!
More Posts
Share by: